iphone tips

Creating Black and White iPhone Images

It's time for another fun iPhone post! We've been learning a lot about DSLR tips so I figured we should make things simple and fun and switch back to iPhone photography. It is spring break after all! It is almost 70 degrees here; we are loving the warm sunshine. Bring on springtime. Bring on better iPhone photos.

If you're looking for another way to improve your iPhone photography, today's tips will help you create great black and white images with your iPhone. Once in a while I'll take a photo that is too harsh from really bright sunshine, and I won't like the way it makes the colors look. Or I'll want a photo to look a little more timeless or less distracting by having too many colors in my scene. This is where black and white comes to the rescue! It can often save a photo from being just... BLAH and make it more interesting by converting it to a black and white photo. Let's see how we can get this to happen. 

I made a quick video of how I like to convert my images to black and white JUST using my iPhone photo editor. This is quick and easy! First I'll show you a method starting with a preset B&W filter, and then a second method doing it from scratch.

Here's the before and after of this photo. I shot this in mid-day sun; I like converting images that are shot in harsh lighting conditions to black and white.

Converting iPhone Photos to Black and White - www.mommatography.com

Here's a perfect example of an image that looked kind of boring and the colors were yucky, but in black and white it looks much better. The contrast from my subject and the bright window behind him makes it much more interesting. 

Converting iPhone Photos to Black and White - www.mommatography.com

Sometimes I like the extreme contrast that the preset filters provide, but sometimes it can be too much. It all depends on the photo. Play around and see what you like! 


VSCO Cam - Photography App for Better Instagram Photos

If you're searching for a fun app to make your Instagram photos look awesome, check out VSCO Cam. This app not only offers beautiful filters that resemble film for editing your photos, it also allows you to have more creative control while shooting. You are able to manually focus, control your white balance, shutter speed, aperture, ISO and use exposure compensation. Pretty sweet, right? Oh, and it's free. VSCO Cam has hardly any text on the interface, so navigating the controls can be a little confusing. Here's a quick rundown to get you started using VSCO Cam.

This is your main menu screen; when you click the menu button on the bottom left (stacked lines) you will get this screen. If you'd like to open your camera to take a photo, click the bottom left icon on this menu page (the box with the circle). I want to access my library and add photos to VSCO Cam so I click on library. 

VSCO Cam App Review - Make Your Instagram Photos Look Better - www.mommatography.com

To add photos into your VSCO Cam library from your camera, click the + button in the middle of the top menu (see below). 

VSCO Cam App Review - Make Your Instagram Photos Look Better - www.mommatography.com

You can select more than one at a time. Click the check mark at the bottom when you're done selecting your photos. 

VSCO Cam App Review - Make Your Instagram Photos Look Better - www.mommatography.com

If you want to take an image, this is what you'll see. The top left button turns on your control menu bar at the top of the screen. The top right button will flip your camera to the one on your screen. I have the grid tool turned on, which can help with composition.

VSCO Cam App Review - Make Your Instagram Photos Look Better - www.mommatography.com

In the image above you'll see the bottom left sunshine button opens more controls; setting your white balance, manual focus, ISO and your shutter speed. 

These two images below show how I can select my white balance using a Kelvin scale; the smaller the number (or closer to the left) the cooler it will be; the larger the number (to the right) the warmer your image will be. I use this scale on my Nikon for white balance and love this feature in VSCO Cam. 

VSCO Cam White Balance Control - Better Instagram Photos - www.mommatography.com

In the image below, you'll see some controls at the top of your viewfinder; the control menu button, setting a grid, low-light boost (white dot), white balance lock, and advanced-brightness control. The far right button switches your toolbar and background to be white or dark gray. 

VSCO Cam App Review - Make Your Instagram Photos Look Better - www.mommatography.com

To take an image, press the circle on the bottom. To access your images, click the image icon on the bottom right of your screen. This will take you back to your library. To edit an image, select the image and press the button on the left (see toolbar below - it looks like sliders). 

VSCO Cam App Review - Make Your Instagram Photos Look Better - www.mommatography.com

To add a filter to the image, click the paint brush and scroll through the filters. You can click the filter twice to select the strength that the filter will be applied, just like Instagram. Click the wrench icon to edit your image; brightness, contrast, straighten, crop, saturation, skin tone, and much more. 

VSCO Cam App Review - Make Your Instagram Photos Look Better - www.mommatography.com

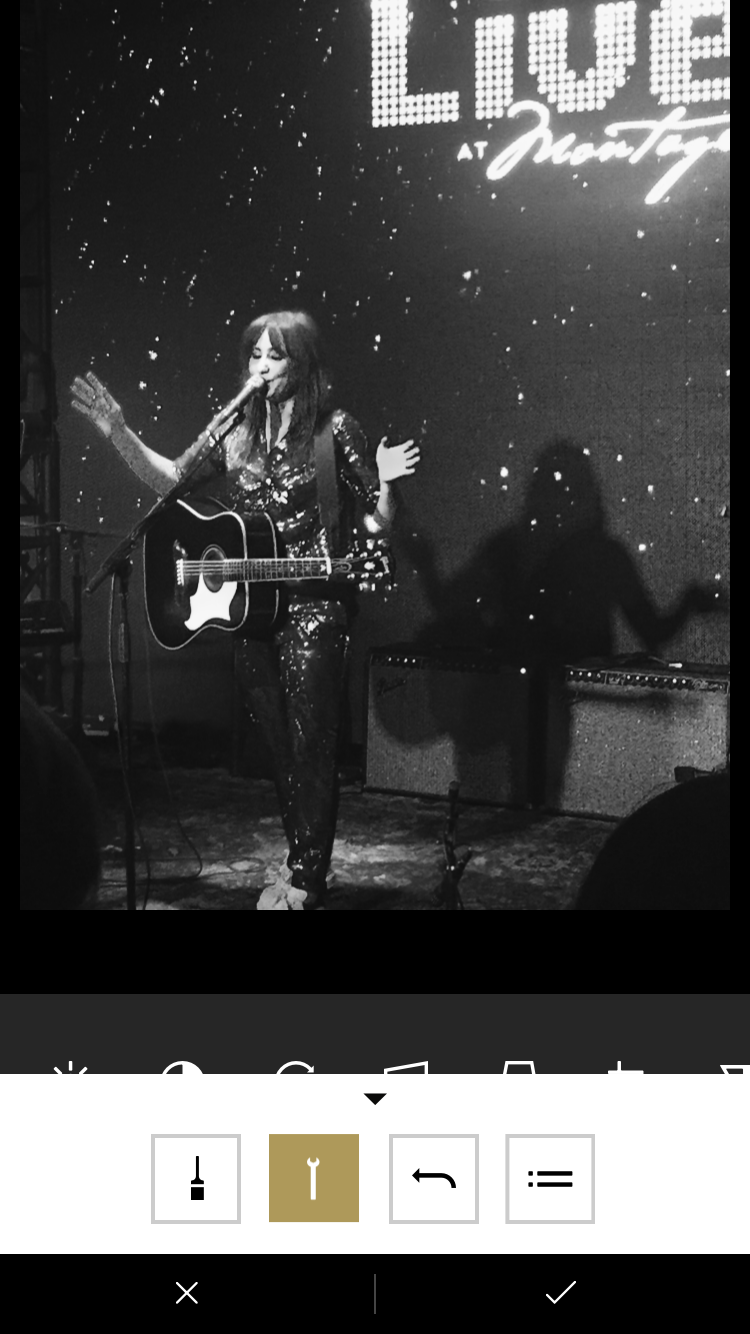
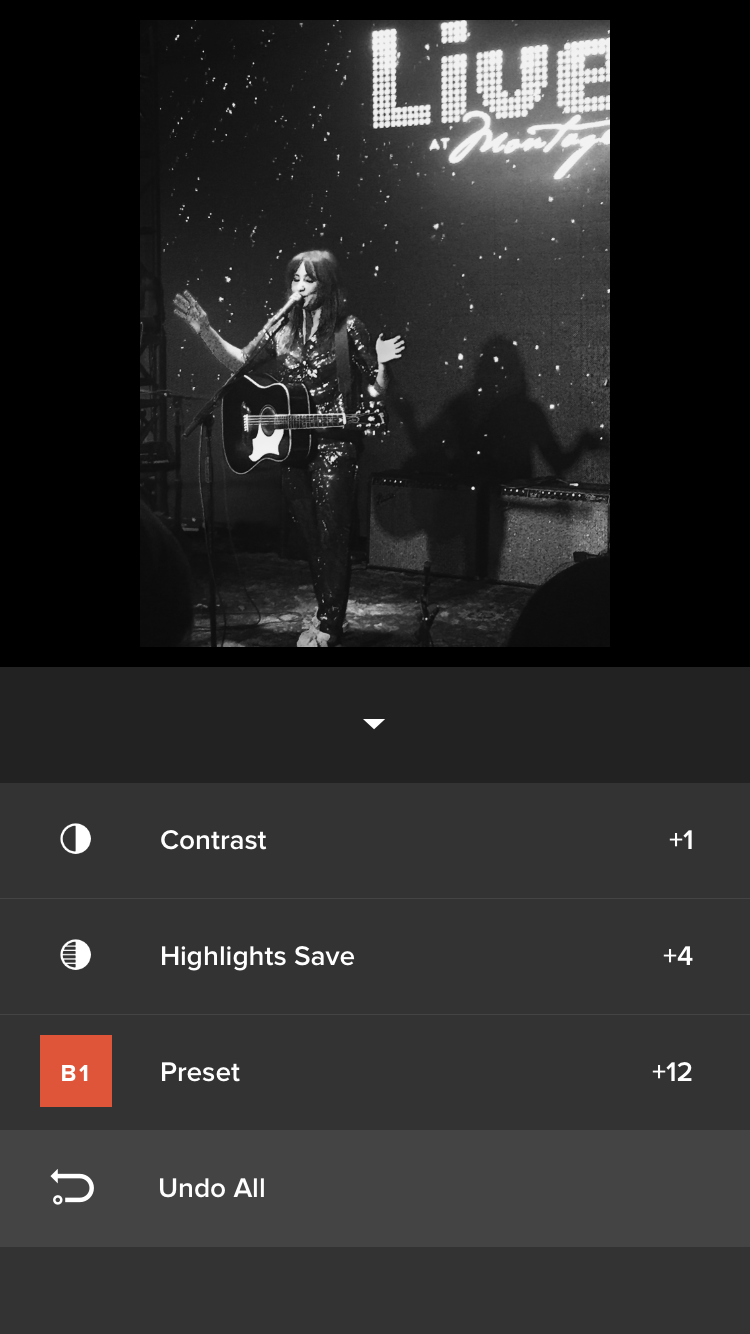
The button to the right of the wrench is an Undo button. The far right button acts like Photoshop layers. If you made an edit earlier on that you want to undo, you simply click this to alter the edit you made or delete it completely without losing all of the changes you made to your image! The image below shows an example of what the layers look like. 

VSCO Cam App Review - Make Your Instagram Photos Look Better - www.mommatography.com

Once you've finished editing your image and you're back on your library screen, click the dotted circle button (see below - far right button) to save or share your image to social media. 

vsco

This is your exporting screen. 

VSCO Cam App Review - Make Your Instagram Photos Look Better - www.mommatography.com

VSCO Cam also allows you to create a profile and browse the work of other users, like Instagram. There are many photo-editing apps out there but VSCO Cam is easily one of my favorites! Some say it is a "more artistic and curated version of Instagram". Plus, being able to have more camera controls on an iPhone is pretty fun. 

Check it out and give it a try!

The Easiest Way to Edit Your iPhone Photos!

Today I created quick video tutorial on how to edit your iPhone photos, just using the built-in editing options on your camera! You don't have to download ten different apps just to edit your photos (although there are some good apps for that, which we'll cover another day). Editing can be quick and easy and the difference is SO WORTH IT. I usually edit my favorites right after I take them on my phone and it honestly only takes about 10-20 seconds to get them to look a lot better.

I am also big fan of Chatbooks, a great company that compiles Instagram photos into little books. I make sure my photos are bright enough before I post them to Instagram, or they will print way too dark. If you struggle with this, this post is for you. All it takes is a few seconds to drastically improve the look of your iPhone photos and it makes a huge difference if you ever want to print them!

These are the typical edits I usually make, depending on the image:

  • I increase the exposure to brighten my image.

  • I also brighten the shadow areas in my image.

  • I increase my contrast (this can be overdone, I only add a little).

  • I increase my saturation just a little as well. 

Here's my walk through to show you how easy it is!

This is the menu that comes up when you click Edit at the top of your photo. Under Light, I'll find Exposure, Shadows and Contrast. You can also see that Color is listed as the next menu option below the Light menu; this is where you can bump up your Saturation. You can also convert photos to black and white using this menu. 

Edit Your iphone Photos - www.mommatography.com

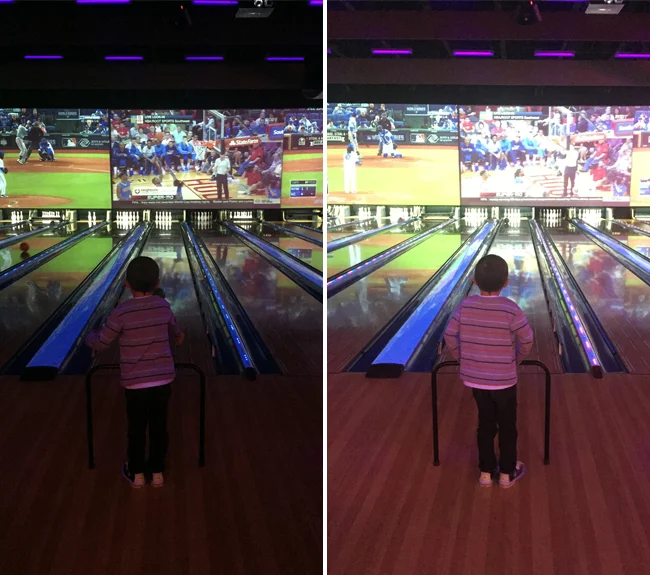
Once in a while, brightening my subject will make my highlights blow out (they are too bright so they are overexposed and lose detail). When I'm using my phone to quickly edit, I'd rather have my main subject and overall exposure to be bright enough so I'm okay letting the bright areas blow out. This image below is an example of that, I lose some detail in the clouds, but the three kids are much brighter. I could also crop the image to a square to eliminate some of the overexposed sky. 

How to Edit Your iPhone Photos Easily - www.mommatography.com

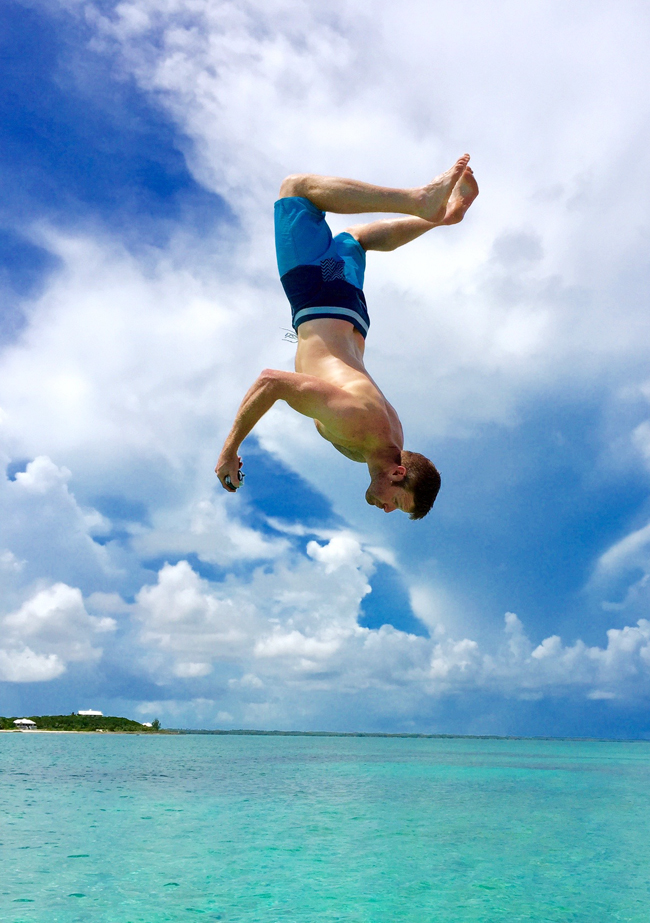
Here's a few more examples! Give it a try!

Easiest Way to Edit Your iPhone Photos - www.mommatography.com
The Easiest Way to Edit iPhone Photos - www.mommatography.com
How to Edit Your iPhone Photos Easily - www.mommatography.com
How to Edit Your iPhone Photos in 15 Seconds! - www.mommatography.com
 

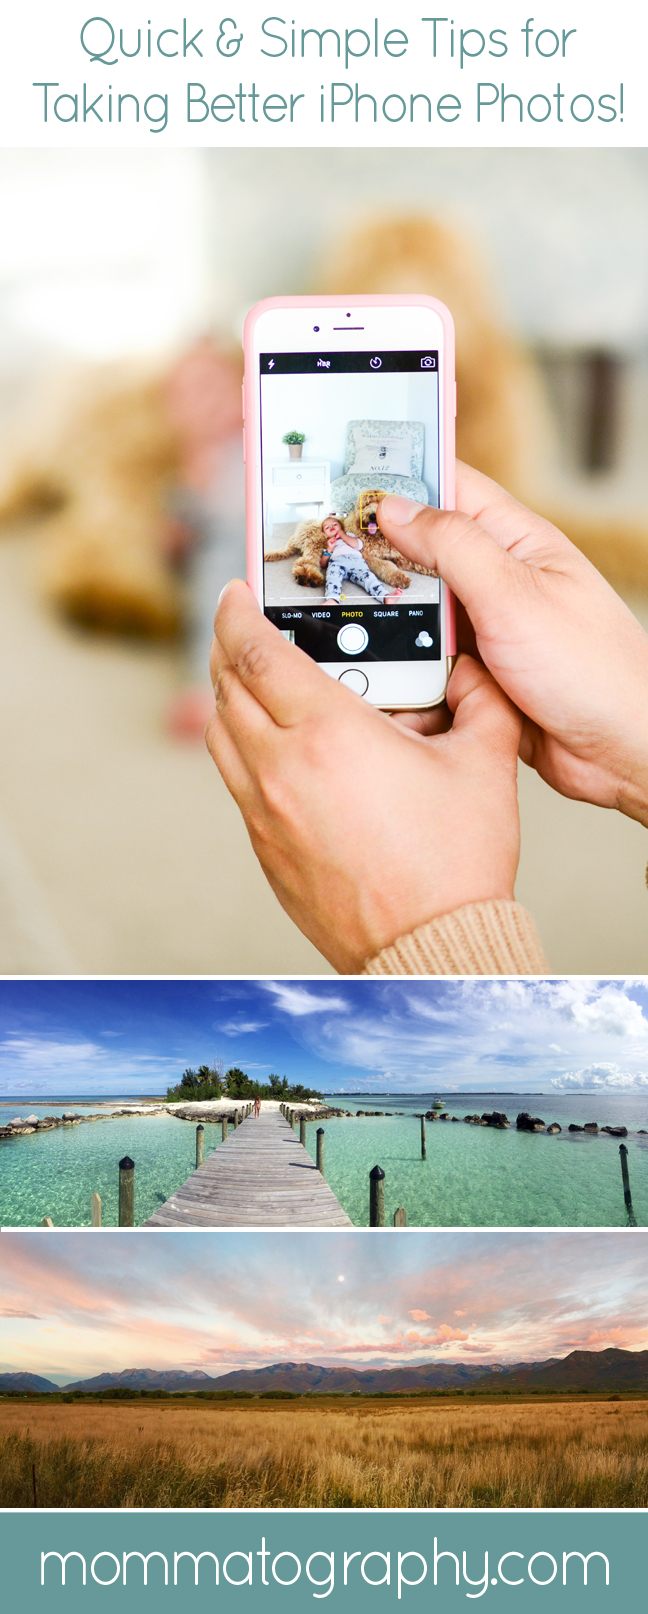
Quick and Simple Tips for Taking Better iPhone Pictures!

If you are like me, you'll quickly realize that it is unfortunate that your nice DSLR camera doesn't fit in your pocket. It's probably not on the perfect setting, sitting next to you ready to go when your child decides to stand up and walk for the first time, or takes off on his bike with no training wheels on his first try ALL BY HIMSELF (yes, that really happened). Thank goodness we have pretty sweet phones nowadays that have amazing capabilities and seem to follow us everywhere we go! Here are some quick tips to take better photos with your iPhone.

Great Simple Tips for Better iPhone Photos! www.mommatography.com

8 Simple Tips for Better iPhone Photos

1. This one is a cinch and makes a huge difference. Your phone will automatically focus and expose for your scene as best it can. If you want to tell your phone to focus or expose for a certain area of your image, like a person's face, simply press your finger on that area of the photo (see the image above) and it will refocus and expose for that square area. I use this all the time, especially if my background is bright but I want my subject to be brighter. Notice the difference below.

take better iphone photos

Pretty exciting, right? On the next example, the photo on the left was what my camera calculated as a balanced exposure, but I wanted my subject brighter (even though dark bowling alleys rarely give you great iPhone photos). I simply pressed my finger on my subject and it adjusted the exposure for me. These are both straight from the camera with no edits. The images on the right give me a better starting point for editing. 

Take Better iPhone Pictures

2. You can also lock the focus and exposure for a specific part of your image by HOLDING your finger down until you see AE/AF LOCK appear at the top of your screen in a yellow box. This is helpful if you want to focus or expose for a moving subject, or when there's too much going on in the scene that your camera isn't sure what to lock onto. 

3. HOLD STILL! Think about a tripod; rest your arms on a table or lean against a wall if you need to! If you're moving while shooting, your photo will definitely be blurry. 

4. The volume up button on the side of your phone acts as a shutter. Sometimes it is much easier to press this to take a picture! You can also use the volume + button on your HEADPHONES to take a picture! Pretty cool, right? They act as a shutter release cable, so you can totally eliminate camera shake. 

5. This tip is pretty funny, but I use it all the time. To avoid selfies that don't look so great, or seem to have camera shake from trying to hold your phone AND press a button, flip to the front-facing camera on the screen of your phone and set a 3 second timer. That way, you can press the timer, hold your arm out as far as it goes, and have a few seconds to adjust the angle your shooting at and compose a little better. I see this as a sort of 'live-view' mode on my iPhone, when I'm trying to take a picture of myself and others. It's totally silly, but it helps. By the way, the camera on your screen has a much lower resolution (lower-quality) than the main camera on the back of your phone. Keep that in mind!

This is my favorite example of a bad selfie (is there really such a thing with cute kids though??). We had a good laugh at this. 

selfie

6. Lighting is key to get sharper images on your iPhone. If you try to photograph your kids chasing each other in your dark living room, you might get one or two that work okay, but 90% of them will be blurry. The brighter your scene is, the easier it will be for your camera to snap a clear shot of a moving subject. Wait for the morning sun to shine through, head outside or stay near nice window light. The brighter, the better.

iPhonetips3.jpg

7. Hold your shutter button down for burst mode (iPhones 5s and above)! This is a fun feature that will take photo after photo (10 frames per second) to freeze motion. You can then review the photos and save your favorite one. Don't forget to delete the rest, they will quickly fill up storage space on your phone. I shot this whole sequence in burst mode and picked this as the best one. 

Tips for Taking Better iPhone Photos

Burst mode and shooting panorama photos (iPhone 4s and higher) are newer features and can be really fun. Give it a try. I love shooting panorama landscapes with my iPhone. It's so quick and easy.

iPhone Tips and Panorama Photos
Take Better iPhone Photos!
iPhone Photo Tips and Panorama Photos

8. Your camera has a built in grid that can help you with better composition, or practicing the 'rule-of-thirds' (we'll cover more about this term later). To turn this on go to Settings - Photos & Camera - Grid (slide it to on). It will bring up a grid like this image on the right shows, so you can practice composing your subject along these lines of interest or intersections. 

iPhone Rule of Thirds Grid

Remember that phone cameras over the last three to four years have improved drastically. I am amazed at the quality of the camera on the newest iPhones, compared to even the iPhone 4. Don't stress about having latest and greatest! It just might take a little more strategy to get crisp, clear photos and don't feel bad if you don't own a bigger, nicer camera. Take advantage of how great the camera on your iPhone can be and stay tuned for more iPhone tips and tutorials on mommatography.com! 

 
better iphone photos