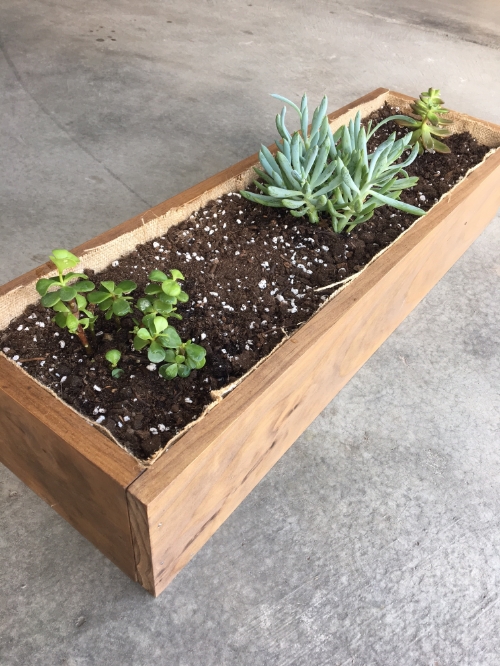
It's time for a fun Friday post! Today I have some tips about making DIY project photos a little more interesting... and an actual DIY tutorial on making this pretty little rustic wooden planter box. I have a secret dream of one day having my own wood shop so I can make anything I want. I'm no professional when it comes to woodworking but I had a lot of fun making this box, it was super affordable and so easy to make!

SUPPLY LIST:
hammer
finish nails (mine were 1.5 inches long)
pine (two 1x6 boards - I had mine cut at home depot so the dimensions of my box were 2.5 feet long and the short sides are 8" long. I recommend having the bottom piece cut, any wood you can find that will give you just shy of 8" wide by 28". My box fit together having a bottom of 28 and 15/16ths" x 7 and 15/16ths :) I used a piece of plywood I had in my garage.
sandpaper
old cloths
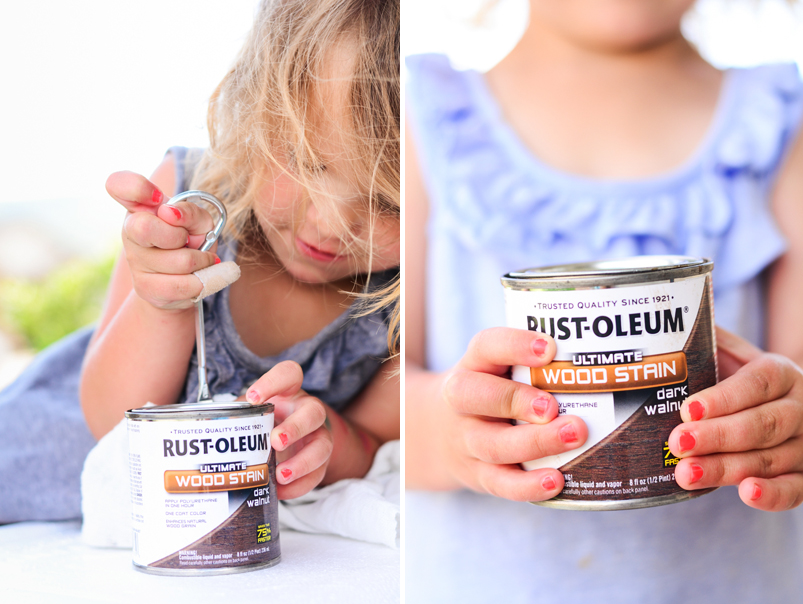
wood stain (I used Rustoleum's dark walnut)
gloves are helpful to avoid staining your fingers :)
optional: wood glue
You can make the box any size you want; this one is for a table that seats eight! Just be sure to get your measurements right!
Here's my first tip for DIY photos.
PHOTO TIP: If you have a bunch of supplies, try different layouts of them all and pick which photo you like best. As you can see in my example below, I started with an idea and didn't like the composition. AT ALL! After rearranging and a little bit of trial and error I liked photo #4 the best. It seemed more interesting and there's no distracting background. I already list the supplies so I like this shallow depth of field that blurs some of the supplies. Try to think a little outside the box. Compose and recompose.

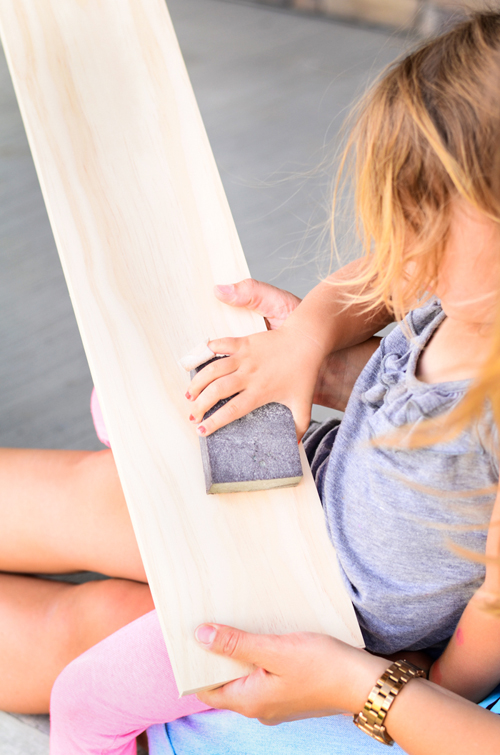
STEP ONE
Sand your wood! I used a sanding block and 150 grit sand paper to sand all the edges and get my wood smooth. I like to sand the edges a little harder so they round off a bit. Also, be sure to sand WITH the grain of the wood so you don't get scratches.

PHOTO TIP: I had a lot of fun adding my kids into the mix! They wanted to be a part of the process, so I let them. If you have children, it helps a lot to have them take the photos or hold things for you. Plus, it makes them happy and it's a fun project to do together. They loved helping me sand the wood and how cute are those little hands? These kiddos added a fun lifestyle element to my photos.
STEP TWO
Take a slightly damp cloth and wipe down your boards so there's no dust from sanding left.
STEP THREE
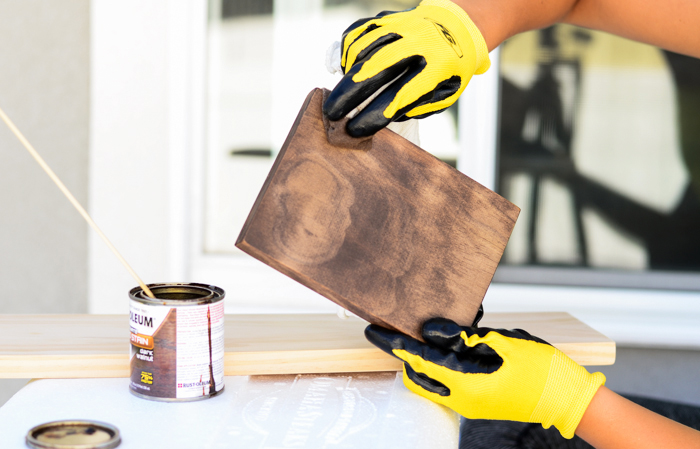
Stir your stain well, grab an old rag and dip it in the stain (I didn't let them help me with this part, for obvious reasons :)
Rub the stain on the surface of the wood (I also did this with the grain of the wood) until you cover all surfaces.

The thicker you coat it on and the longer you leave it on, the darker your stain will be. I didn't go crazy with mine; the dark walnut stained the pine really well with one coat. Set out to dry. It took about 20 minutes outside on a warm day for my stain to dry well enough.
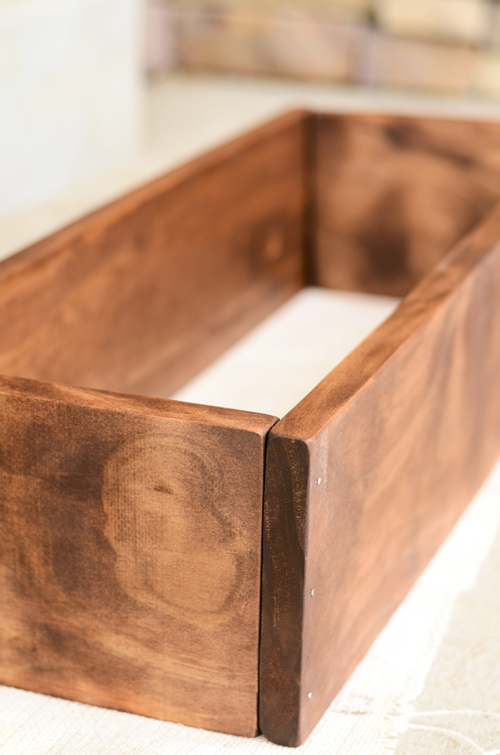
STEP FOUR
Time to put it together! If you want to use wood glue and nails, lace the edge of your box with wood glue before hammering your nails in. I just used finish nails. Place the boards so the edges are flush, like the photo below on the left. I just eyeballed and nailed three nails across the sides to attach the sides together.
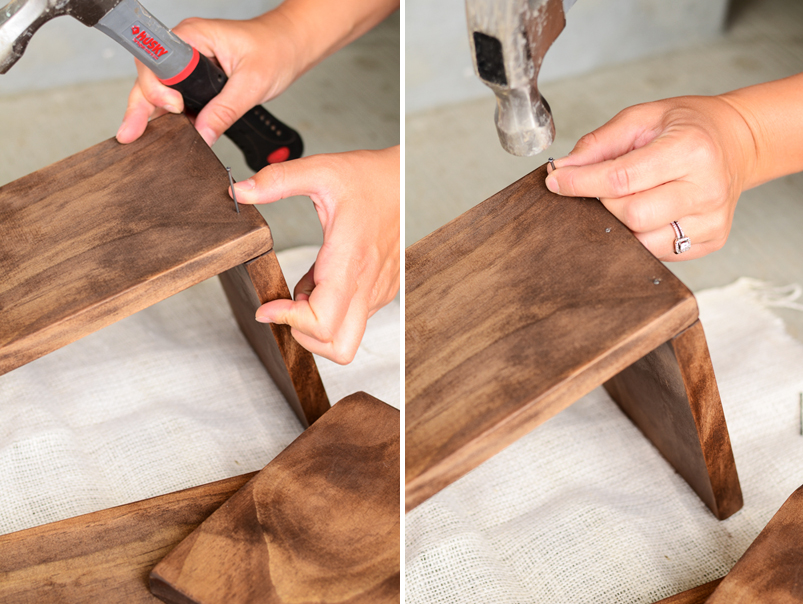
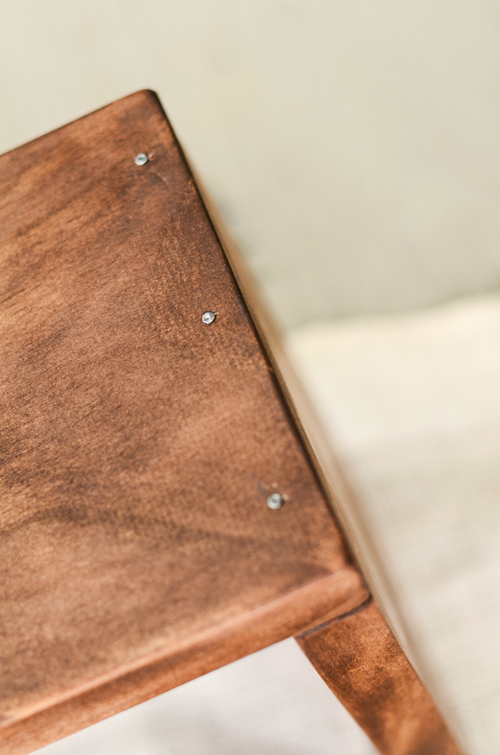
PHOTO TIP: LIGHTING! Lighting is key to getting blog photos that appeal to others. Make sure you are shooting your products, food or portraits, whatever it may be, in a well-lit place. Have a goal in mind for the lighting you want to go for, and find the best place in or around your house to achieve it! I like the lighting on my front porch. We used that for most of these photos. Garages (with the door open) can make for an awesome natural-lit studio. Bright, clear images will go a long way.
PS: I used my 50mm f/1.8 lens so I could have a shallow depth of field and bright images. Most of these images were shot on either f/2.8 or f/3.2.


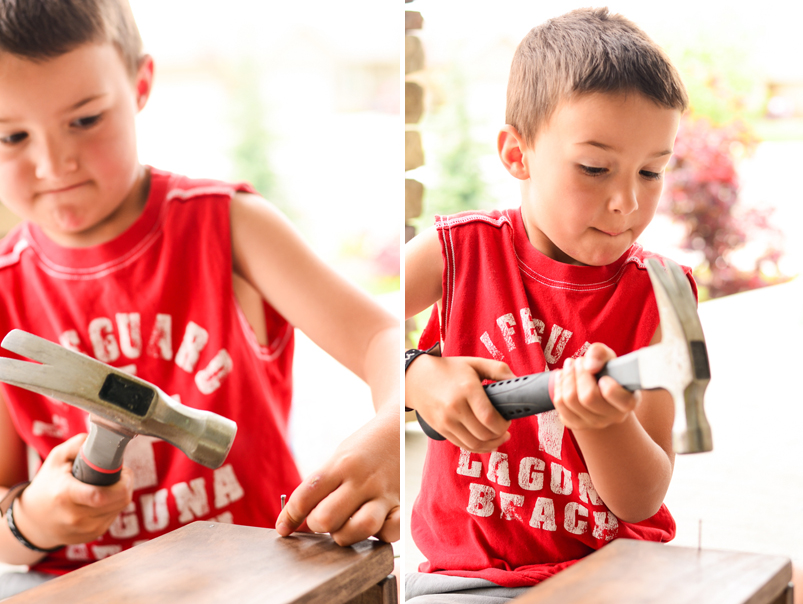
STEP FIVE
Once two ends are nailed together, place the last long side on top to hammer it on. It's easy to bend the finish nails, so I braced them with my thumb to make sure they went in straight. The last thing you want is a nail to come through the side because it was hammered in crooked. I'm speaking from experience here!
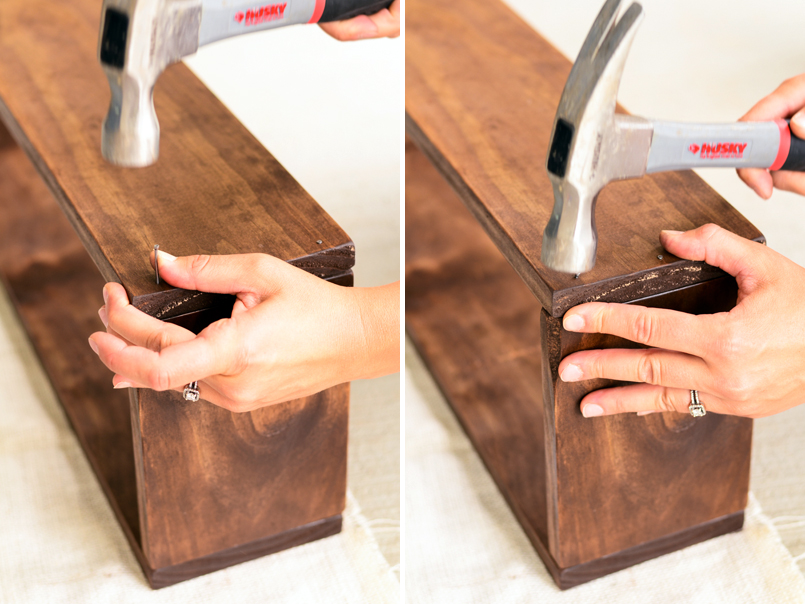
PHOTO TIP: Sometimes shooting a DIY project is SO hard because you might be the only adult around. If you don't have an assistant, use a tripod and a timer to try and get your shot. For the images above, I had my photo composed how I wanted it and had my son snap the shutter while I hammered. Having an extra set of hands helps a lot, and a tripod is really handy as well.