camera settings

Shutter Speed - How to Freeze Motion & Show Motion Blur

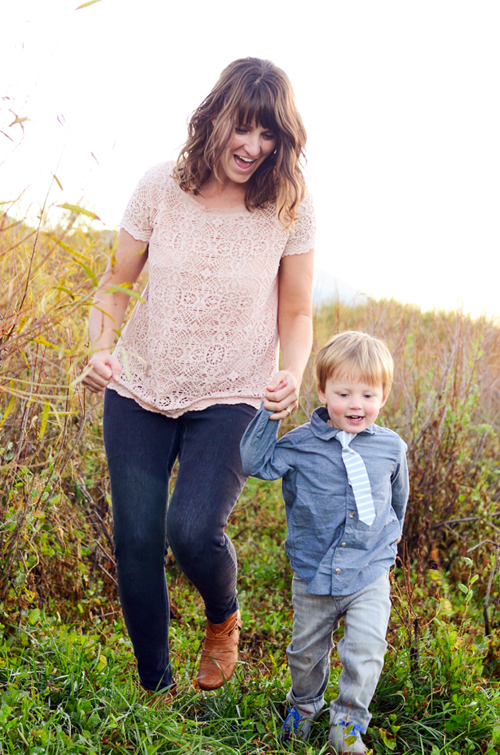
The Fourth of July is one of my favorite holidays. I am SO excited for the 4th this year! There is such a fun feeling living in a somewhat small town; I love driving with my windows down past beautiful green fields and mountain lakes, listening to all the patriotic country songs and thinking about just how LUCKY we are to live in America. I love the BBQ’s, parades, the rodeos, and the fireworks. 

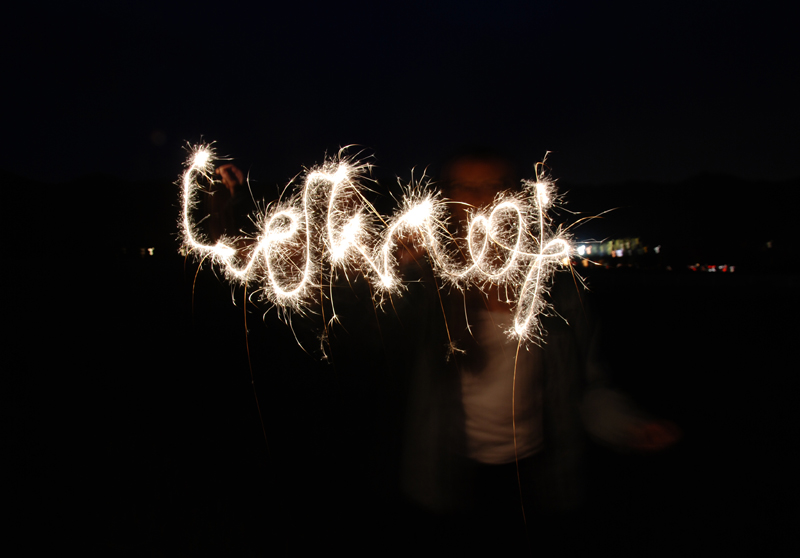
I thought this would be a good week to learn more about good ol’ shutter speed! If you want to photograph cowboys trying for 8 seconds at the rodeo, freeze fun moments of your kiddos splashing in water, or capture the magic of fireworks, it all comes down to shutter speed. 

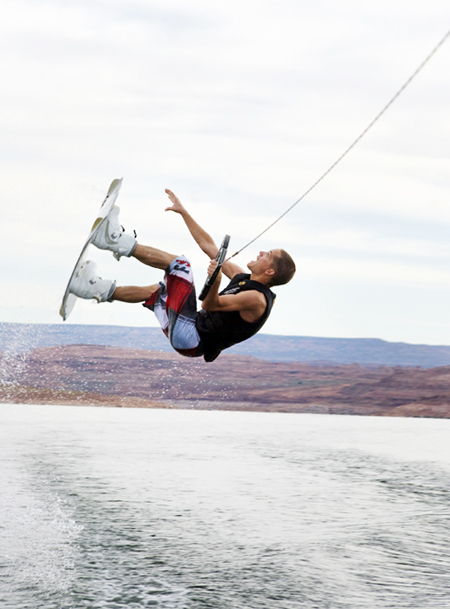
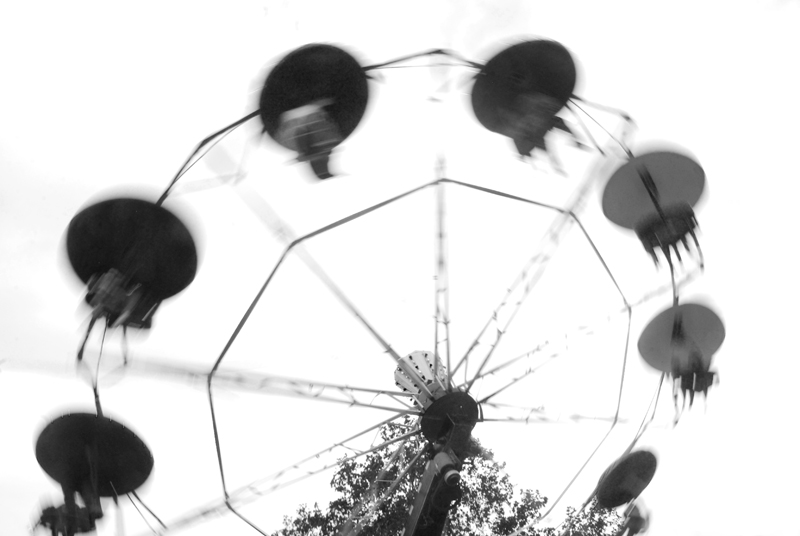
For those of you wanting to learn how to freeze motion or show motion blur, this is an easy tutorial to help you get the perfect shot at the perfect moment. 

How to Freeze Motion

To freeze motion in a photograph, you need to use a FAST shutter speed. Shutter speed gets quicker the higher the fraction is. Going from 1/60 to 1/250 to 1/500th of a second means your shutter speed is quicker. If you want to be sure that you freeze a subject running or jumping, using a shutter speed of somewhere between 1/500 - 1/1000th of a second is a good idea. 

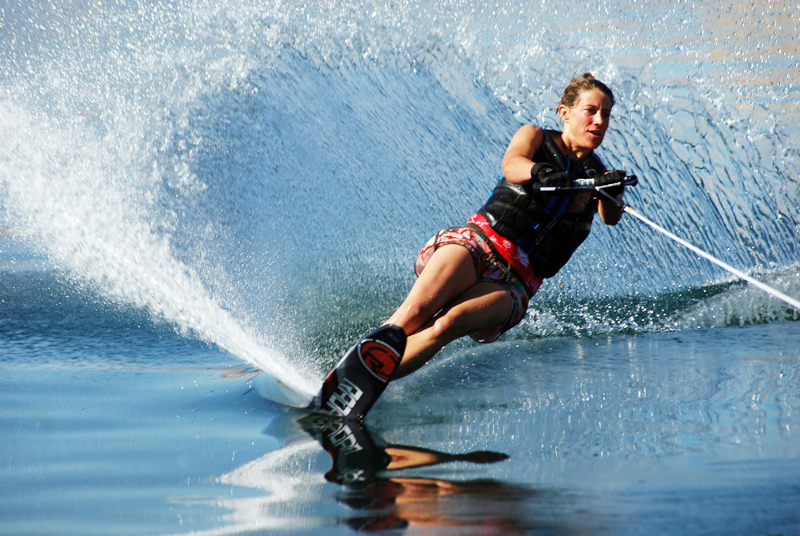
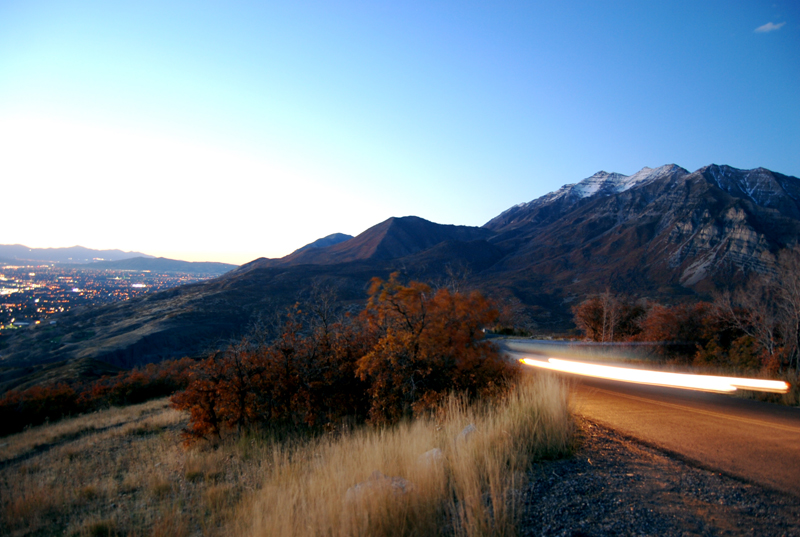
I love freezing motion at one of my favorite places on earth, Lake Powell. We spent many 4th of July's on that lake! It's a lot of fun to get good action shots of water sports. For the skier, I shot at 1/750, f/6.7 and my ISO was 110. 

For the wakeboard shot, my settings were 1/500, f/8 and ISO 100. 

Wait a sec! That high of a shutter speed could be a problem right? Using a shutter speed that high means that you need A LOT of light. This can easily be done mid-day with the sun shining outside. If your lighting conditions aren’t bright enough, you’ll have to raise your ISO to a high ISO #, or open your aperture up as far is it can go (lower f/stop #). These are two keys to getting more light. Keep in mind that a lower f/stop will limit what is in focus and give you more background blur. 

Are you bugged or overwhelmed by more manual settings talk? It's okay! I get it. Here’s another solution: change your camera settings to shoot in shutter priority. That way you can pick your shutter speed, and your camera will help you out with the rest. Phew. It's that easy! 

I shot this photo below at 1/1250 of a second and it's still not tack sharp! It's a fun shot but sometimes it's a lot of trial and error until you get the perfect shutter speed. 

Here's another fun photo of freezing water in motion, taken at 1/600. 

How to Blur Motion

Blurring motion is the exact opposite idea. To show movement or motion blur, you’ll need a longer shutter speed. This will be a slower amount of time, such as keeping your shutter open for 1/4th of second, to perhaps three minutes or even longer. Your camera records what it sees in that amount of time, thus showing any movement. 

For this image below, these were my settings: 1/40, f/22, ISO 400. Because the ride was moving fast enough, 1/40 of a second was just long enough of a shutter speed to show the movement. Had I changed it to three seconds or longer, the shapes of the seats and the people would be a complete abstract blur. I chose this shutter speed because I wanted it to still be recognizable. 

First, you have to think about how fast your subject is moving. Second, think about how much light is in your scene. If you have a long shutter speed on a bright sunny day, your image will easily be overexposed (SUPER bright). If you only use a somewhat longer shutter speed at night (like 1/15th of second) you may not have enough light in your scene and it could be underexposed or DARK. 

If you try to show motion blur but your image is too bright, change your ISO to a LOWER # (less light) and your aperture to a HIGHER f/stop # (less light will enter your camera). If that’s too complicated to balance, once again switch to your SHUTTER PRIORITY and pick the longer shutter speed that you’d like to try out.

Two ways of blurring motion are:

1. Keeping your camera totally still and having your subject move.
2. Moving your camera (also can refer to the term panning, which is a fun trick we'll talk about later)!

To show your subject moving, it’s a great idea to use a tripod to ensure that you won’t shake your camera while taking the shot with a longer shutter speed. If you hand-hold your camera and try taking a two-second exposure, your photo will show camera shake from your hands moving. If you don’t have a tripod, you can try setting your camera on a table or anything stationary, set a self-timer and release the shutter. Even the motion of pressing your shutter release button can cause camera shake! 

I didn't have a tripod for this photo and you can see that his figure is a little fuzzy and blurry. It would have been much better result if I had a tripod. 

I shot this photo below at 1/10th of a second, f/4.8 and ISO 320. 

Using a tripod and a long shutter speed, you can get some fun images with sparklers by light painting; simply waving your hand around while the camera is taking the photo. 

For the shot below, I captured the movement of car lights by shooting at 1/10, f/3.5 and ISO 100 and of course, used a tripod so the rest of my image was clear. 

Use this holiday weekend to play around with your shutter speed and see what interesting images you can create! Be creative, have a tripod handy, remember SHUTTER PRIORITY and have fun! 


Printable Photography Cheat Sheet

Let's take a break from editing tips and get back to some basics! Today I made a really convenient printable photography cheat sheet for those wanting a little guide that can fit inside your camera bag! This is a 3x5 card that you can carry and refer to easily on the go. When you want to know what settings to use in certain situations, just snag your card to help you remember what all those crazy settings will do to your image. It can be easy!

Keep practicing shooting manual, or choose your aperture priority to practice selecting your own aperture. That's always a good place to start; you only have to think about half of the equation because your camera will choose your shutter speed for you!

Click here for the full 3x5 file. 


Road to Sharp Images - Back Button Focusing!

Who is excited for more tips to get sharper photos?! If you missed my first two articles in this series, click here and then click here to catch up. I am going to talk about back button focusing today and how it is another pretty SWEET step towards taking sharper photos! This little trick can save you from just missing your sharp focal point, due to moving subjects. If you are trying to photograph still life subjects, this may not be a drastic improvement or technique for you. If you're like me, and take portraits of people, especially little people, this helps a TON. It is also very helpful for sports and wildlife photography. 

First let's explain how it works and why it is beneficial to use this feature. Back button focusing (BBF) can separate the Autofocus activation from the shutter release button. Normally, if we press the shutter release button half way, our camera will focus and then we take the photo by pressing it all the way. You can hold down the BBF button while a subject is moving and use the shutter button to capture the image at just the right moment; there's no need to keep pressing the shutter half way to get the shot you want! In a nutshell, your thumb can work the Autofocusing while your index finger only has to focus on taking the perfect shot.  By separating these two functions, we can also lock focus by pressing the BBF button and recompose our subject as many times as we need to (moving your subject to different sides of your frame, not having your subject move forward or backward). 

Now I will show you where we find this magic button, and how to set your camera up for back button focusing. Most higher end DSLRs come with an AF-ON button, dedicated entirely to back button focusing. If you don't have this button and you shoot with a Nikon, look for the AE-L/AF-L button. You'll have to set this button to act as your back button focus. Head to your MENU, and go under the pencil icon for your 'custom settings menu'. Go to 'controls' and select 'Assign AE-L/AF-L button'. Then choose 'AF-ON'. After this you'll have to tell your camera to take a photo even if the focus wasn't achieved. Go to 'custom settings menu' and choose 'autofocus'. Go to 'AF-C priority selection' and 'AF-S priority selection' and make sure they are both on 'release'. Your back button focus should be set to go!

Back Button Focusing for Sharper Images - www.mommatography.com

On Canon cameras, your back button focusing button will either be the AF-ON or AE-LOCK (marked by an *) button. If you don't have an AF-ON button, you'll also have to set your * button to tell it what to do. On a Canon Custom Function menu, look for a 'Shutter/AE Lock button'. In this menu you'll probably look for a 'Metering Start/Meter + AF start' (no that doesn't make any sense but that's what they named it)! There are different ways for setting this correctly, depending on which model you have. I recommend checking your manual for exact instructions. It is also important to remember that this only works when shooting in a Creative Mode, not on an Auto mode. 

Back Button Focusing for Sharper Images - www.mommatography.com

Here's a scenario where BBF would be very helpful to achieve sharp focus. 

Back Button Focusing for Sharper Images - www.mommatography.com

In this scenario, my subjects are moving towards me. If I were to press my shutter half way to focus, in even a fraction of a second they will move closer to me; this would cause them to be out of focus. Even if they are slightly out of focus, our goal is to have SHARP images. BBF allows me to focus separately, freeing up my shutter to take the photo right at the exact moment I want to. For moving subjects, it is helpful to shoot on a Dynamic mode such as AF-C (Nikon) or Ai-Servo (Canon) while back button focusing on a moving subject. In this case, you'll keep your thumb pressing the BBF button and let your camera track your moving subject while you press the shutter at the right moment. 

If you want to shoot a self-portrait or use a timer/remote, you can simply press the BBF button once to lock the focus and when the shutter is released, your focus won't change. BBF can definitely make photographing certain scenarios more simple.   

Give back button focusing a try! It might take a few days to practice and get the hang of it, but I promise it can be a game changer for you like it is for me. 

PIN THIS TIP FOR YOUR FRIENDS!

Back Button Focusing for Sharper Images - www.mommatography.com
 

Road to Sharp Images - Understanding Focus Area Modes & Focus Points

Every DSLR camera is equipped with focus points. Focus points help the camera detect contrast, which (to make a long story short), help the camera focus on a scene more accurately. Some of these are regular vertical AF sensor points and some come with a newer cross-type technology. The cross-type sensors detect contrast vertically and horizontally, which means that the more cross-type AF sensors your camera has, the more efficient your Autofocus will be. It's also helpful to know that the more AF points your camera has, the better focusing results you'll get with moving subjects. 

AF-Area Modes

On my Nikon D7000, I change this setting by pressing this button and scrolling my front wheel dial. 

Understanding Focus Area Modes - www.mommatography.com

On an entry-level Canon DSLR, you might change this setting by pressing this button and then selecting your Focus Area Mode. If you're unsure about your camera, check your camera's manual. 

Understanding Focus Area Modes - www.mommatography.com

Single-Point AF-Area 

Known as Single Point (Nikon) or Manual AF Point (Canon), this mode uses one focus point (one specific area) that you choose to focus on your subject. This mode is great for precision. It's as simple as that. Here's what it looks like when you do Manual point selection on a Canon screen; only one focus point is activated.

Understanding Focus Area Modes - www.mommatography.com

Dynamic AF-Area 

Known as Dynamic (Nikon) or AF Point Expansion (Canon) mode, you first choose the single focus point; once focus is achieved on that area, you can pan (or follow) your subject, trying to keep it close to the focus point. Your camera will then try and help you track the focus, by using the surrounding points. This mode works really well for moving subjects. You can also choose how many focus points you want to use; every camera is different and has a different number of these points. If you want to track a small area of the scene, you can choose a smaller number of focus points. If you want to track a subject using the whole viewfinder, you should pick the highest number of tracking points. See my example below.  

Understanding Focus Area Modes - www.mommatography.com

3D-Tracking Mode

Some DSLRs have a 3D-Tracking Mode, where you pick the focus point and your camera will automatically activate as many focus points as needed to have an efficient way of tracking your moving subject. It uses a color-recognition technology so you can recompose, while it tracks, for instance, a red car driving down the street or a white bird flying around birds that might be black. The difference between 3D and Dynamic Mode is that you choose the area you want to focus in Dynamic Mode. 

Here's an example of what the different Focus Modes look like on a Nikon (image source from Nikon).

Understanding Focusing Area Modes - www.mommatography.com

It can be a little confusing to remember how our Focus Modes and Focus Area Modes work. Hopefully these posts help you understand how your Autofocus system works a little better. Try some of these different settings and see which Focus Area Modes work best for you, your subject matter and your camera!


Metering Modes Explained

As a follow up to my previous post, Understanding Your Light Meter, I am going to go over Metering Modes! Metering will evaluate the amount of light and dark areas in your image and help you get the correct exposure for your subject. 

Your DSLR camera is equipped with a few different modes that will measure and determine how to get the best exposure, based on which setting you choose. Learning how to choose which part of your scene is most important and getting an accurate exposure for your subject will help you have more creative control with your photography!

The most common metering modes include:

1. Spot Metering

2. Center-Weighted Metering

3. Matrix (or Evaluative) Metering

SPOT METERING

Spot metering allows the photographer to choose the exact spot in your frame you want to expose for (using your selected focus point). This is a very accurate way to meter, but the area is very small so you have to be precise about what you want the camera to meter from your scene. This mode is awesome when your main subject, or your focal point, is a lot brighter or darker than the rest of the surroundings! It is also great for subjects that are backlit. I love that I can use this mode to meter subjects that are off-center, using a manually selected focus point. 

PARTIAL METERING (CANON)

Partial metering works the same way spot metering works, but the size of the area is a little larger. 

CENTER-WEIGHTED METERING

This mode allows for a larger metering area, which is fixed in the center of the frame. Although it takes a little information from the edges of your frame into account for the exposure, the priority is given to the center of your viewfinder. It is helpful for scenes where you want to expose for a subject in the middle of the frame, not worrying too much about the lighting behind or around your subject matter. Think of it as a mode that falls in-between evaluative and spot metering. On some cameras you can choose how large you want this area to be. Check your camera's manual for more information about how to change the settings.

EVALUATIVE/MATRIX METERING

This mode is considered a 'default' or 'auto' mode. This will measure the light in the entire frame of your camera's viewfinder and determine the average exposure for your scene. This mode works well when the scene you are photographing is evenly-lit. It is also helpful for landscapes. 

Here's a cheat sheet to know what the metering mode icons look like on your camera. Changing your metering mode is different for every camera; refer to your manual if you need help changing your setting.

Metering Modes Explained - www.mommatography.com

This will also help you visualize what each metering mode covers in your viewfinder. 

Metering Modes Explained - www.mommatography.com

source

I personally use spot metering most frequently. This gives me full control of focusing and metering for my subject and I find that it works the best for me! Try shooting the same scene using each metering mode and see if you can notice the difference.

Keep in mind that your camera does the best it can to average light and dark and some images STILL might be darker or brighter than you'd like them to be. This is where exposure compensation can come in handy, and we will cover that on Thursday!