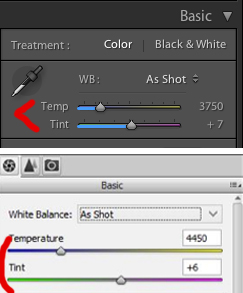
correcting white balance

How to Correct Your White Balance in Post-Processing

White balance can make or break an image. It is really important to try and get your white balance right in camera, when you take your photo. I have covered the basics about setting your white balance in this article; if you haven't read it be sure to! It will help you understand what it is and why it is so important to getting a great image.  

Once in a while we're in a tough situation and we end up shooting without selecting the best white balance option, leaving us with a very BLUE image or an image that is so ORANGE, it's scary! The good news is that it is easy to fix your white balance in post-processing. I'm going to walk you through how to do this in both Lightroom and Photoshop.

Here's an example of a photo I took and didn't like the White Balance. Not even a little bit.

If you compare it to the shot below where I used a custom white balance setting, you'll notice it looks much more inviting and not yucky orange. Luckily, I made the correction IN CAMERA, which is always best... BUT I'll teach you how to fix a photo if you're stuck with a color cast you don't like! 

Step One

Find your white balance dropper tool. It looks like this below, on the top is Lightroom and the bottom is the top toolbar in camera RAW in Photoshop. 

Use this tool to find and click on a neutral area in your image (any area that is white, black or gray). This will automatically adjust your white balance settings; try a few different neutral areas and see which one is the closest to the light & setting you took the photo in. 

Another trick to picking a good neutral for your dropper tool is to watch the numbers in the box below (RGB) and try to get these three values to be as close as possible for the best results. 

This is the result below from picking a neutral in my image above. It's still a little green and a little yellow, so check the next step below to get it just right!

Step Two

In most cases, you'll want to make smaller adjustments by using your white balance sliders to fine-tune the image. Check the toolbars below:

Play around with the temperature sliders to get your white balance exactly where you want it. Here's a finished image after using my temperature and tint sliders to get it where I wanted it. This is where I got my first YUCKY orange image! Doesn't it look a whole lot better?

Step Three

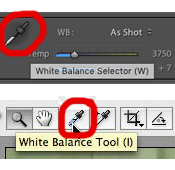
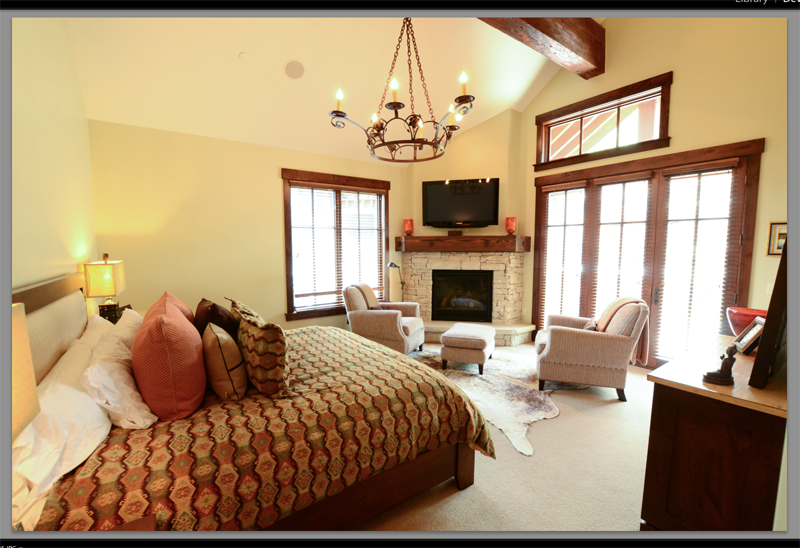
If you're not getting the results you want, you can try to choose a pre-selected white balance setting that fits your image. For example, select from the drop-down menu below to choose 'shade' if you shot in the shade, and see what it does for you. You'll only have these options if you shot in RAW. If you didn't, you'll have an Auto setting. 

The Auto setting did a pretty good job for the image below! It was too cool for me, and just selecting the Auto option warmed it up great. That's the only thing I clicked to get it from the image on the left to the image on the right. Try it out and see if it gets you closer to where you want to be.

I hope these White Balance tools can help you get your images where you want them to be, even if you rush and choose the incorrect settings in camera! The more you practice and play around with it, the easier it gets to fine-tune your White Balance and get the most natural looking photos. 

GOOD LUCK!