Saving Raw files in a new format

Processing Raw Files

If you missed my post last week on Shooting in Raw vs. JPEG, be sure a read it through. It will help you understand this post a little better. SO now that you understand the difference between shooting in Raw vs. shooting in JPEG, what do you do with all those Raw files?? Here's a few pointers to get you going in the right direction for converting Raw files.

If you shoot with a Canon camera, your camera should have come with the DPP (Digital Photo Professional) software disk. You can install this software to your computer, find the folder of your RAW photos, and export them as JPEGS. To save them in a different format go to File - Convert and Save. You can also batch process them (convert the whole folder all at once) by going to File - Batch Process. That window will let you choose where to save them, what to name them and select your quality. Play around with this software if you don't want to spend more for another post-processing program. 

If you shoot with a Nikon camera, you can process your NEF files using the software that came with your camera; this is most likely View-NX or View-NX 2. Here's a tutorial on how to convert Raw files with this software. 

If you are using a Mac, you can edit Raw files in Photos (the new version of iPhoto). When you import Raw files into iPhoto, it will automatically show your photo as a JPEG version. To access your Raw file you have to click 'Edit' to edit the image. After that, under the image menu, you have to select 'use Raw as original'. Once your edits are saved, it will show as a Raw file.

Google had a program called Picasa which was FREE and can also process Raw files. They have since discontinued Picasa, but if you have it downloaded already, you can still use it. For detailed instructions on how to convert Raw files to JPEG files using Picasa, check out this tutorial

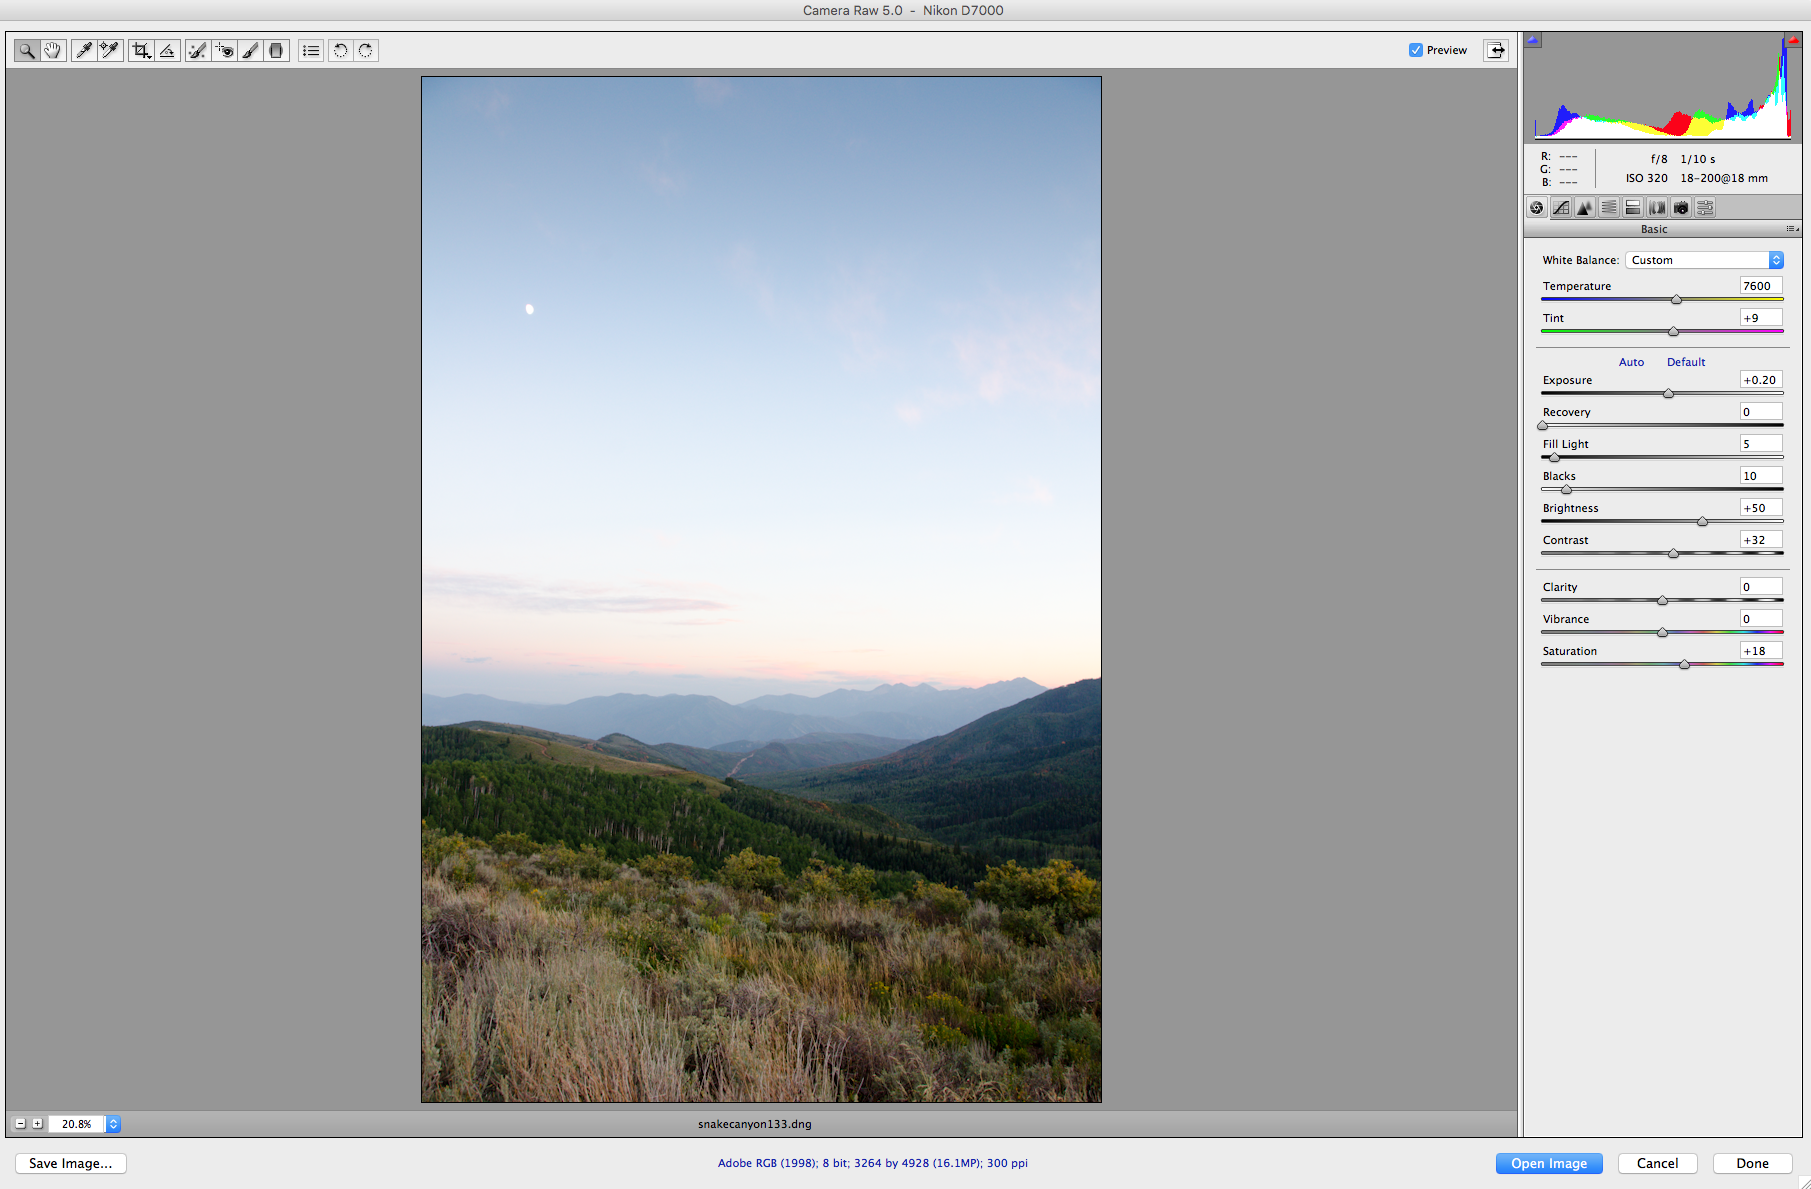
If you own Photoshop, you can process your Raw files with Camera Raw. This window will open up your Raw files, and here you can make your edits without losing any information with your file. Simply edit the photo how you want it, and click open image. Once it opens in photoshop, you can then save it in any other file format. 

Converting Raw Files in Photoshop - www.mommatography.com

Lightroom is my favorite software for post-processing my images. Don't get me started on that though; we will talk about Lightroom soon! To convert Raw files in Lightroom, go to File - Import. Import the photos you want, and make your edits in the Develop window. Once you are done, click on your files and go to File - Export. Here you will choose the location, file name, etc. Make sure you choose JPEG if that's the format you want your new files to be. 

I like to convert my Raw files to DNG files, using Adobe's Digital Negative Converter. DNG files are more universal, they are smaller than Raw files but are still lossless (contain the full image data and aren't compressed). You can select your folder of images, choose where to save them and what to rename the files. When ready, click convert and they will batch process! Here's what that window looks like:
Convert Raw Files to DNG - www.mommatography.com

Hopefully your Raw to JPEG process makes a little more sense now. Visit my contact page and shoot me an email if you have any further questions!!