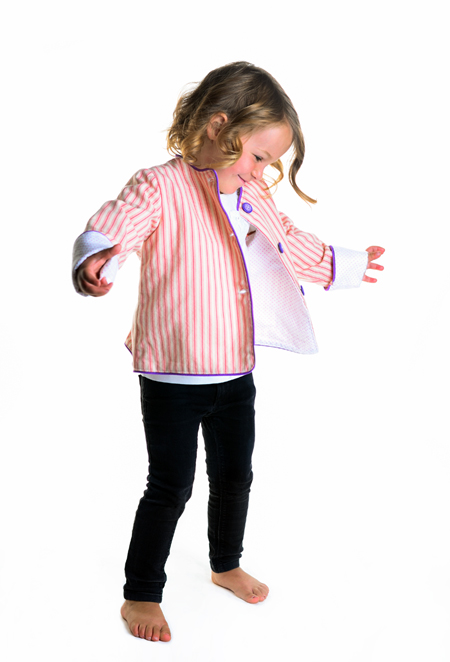
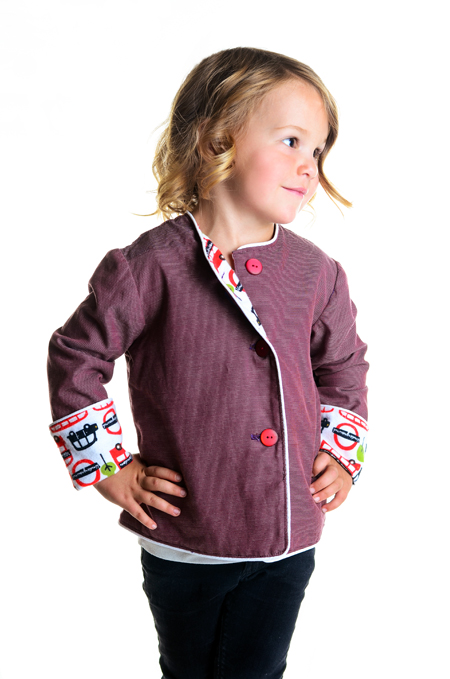
Today I'm going to write a post for those who are wanting to create a white seamless background. Whether you want a full-length portrait or a white space for product photography, a white seamless background will help eliminate a lot of hard work in photoshop and make your subject pop! This is a lot of fun for portraits of kids and I use it all the time when I have commercial and product shoots.
For starters, if you're looking for a white backdrop, read my post about taking simple portraits (the LAST paragraph) to find an affordable setup. You can get a backdrop and stands for a good price on amazon. If you don't want to spend the money, I'm sure there are a lot of great DIY tutorials using a white sheet for a backdrop!
My tutorial involves three lights; two to light your backdrop and one to light your subject. You can rent lighting kits from most camera stores and they are pretty easy to use. If you own your own lights and have been wanting to figure this out, hopefully I can help!
Here's a diagram of my setup:
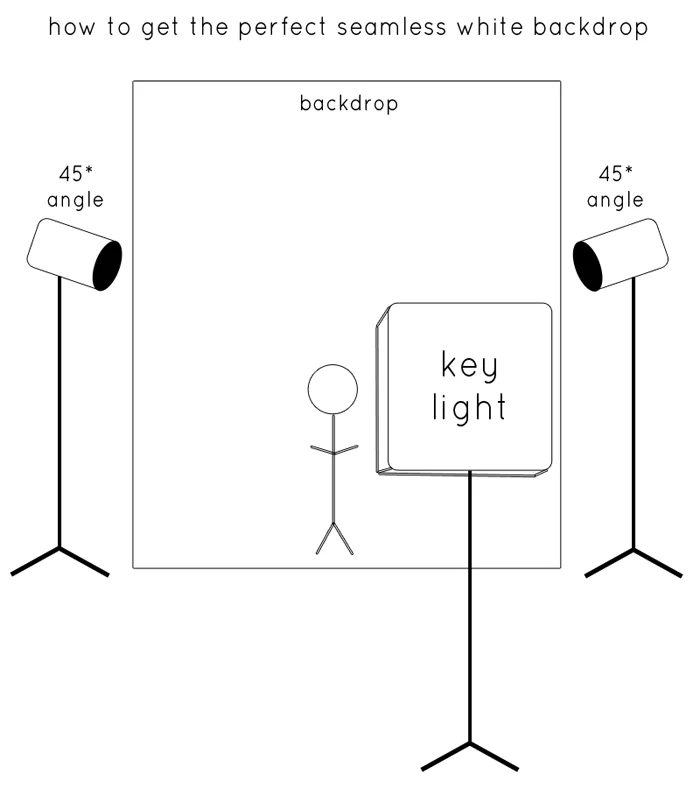
To get a white backdrop it's helpful to have TWO lights lighting it. Set up the two lights that shoot at about a 45 degree angle onto your backdrop. It's important to keep the light on your background but not on your subject. I use the general purpose reflector that attaches to my strobe to help direct the light (see below).

If it's too strong, I use something like black paper or tape as a grid to help diffuse the light that's shooting on the backdrop. IDEALLY, a Barndoor like this below, is the best way to control the light but I tend to make things work without buying a ton of equipment!

For my key light, I like to use a big rectangle Softbox when shooting quick portraits. It keeps light soft and nice and it's easy to move around to light my whole subject. I usually place it so it is shining down on my subject at a slight angle.
Next, you'll want to plug the lights in, turn them on and connect your camera to one of the strobes using a PC sync chord (usually included in most lighting kits). If your camera doesn't have a PC terminal where this connects, you can buy a simple adapter like this one. You can also ask the store if they rent those as part of the kit. I also use a wireless syncing remote that connects to my camera's hot shoe and the other half stays connected into my sync port on my strobe. This is a nice advantage because you can move anywhere you'd like and not worry about having your camera plugged into a chord.
Set each strobe so that it will fire using the optical slave switch. This will automatically have it fire when the strobe you're connected to fires. I had three lights firing at the same time, while connected with the PC sync chord to only my key light.
At this point, I have to play around with my exposure to get my subject lit just how I envisioned. It helps to keep your subject a few feet away from the backdrop, to avoid too much light spilling onto your subject. Also, most strobes match daylight, so set your white balance to the daylight setting to keep it easy. For my images I shot at f/5, 1/250 of a second and kept my ISO at 125. All three of my lights are strobes, meaning they fire for a split second.
The last step is to play with the strength of each strobe until the light is how you want it. The two lights on your backdrop should be the same values to keep the backdrop evenly lit! Every kit is different, so it's trial and error to get the perfect value to light it just right. Play with the dials until it looks right. The same goes for your key light, or main light lighting your subject. Be careful not to light your subject too bright, just keep it nice and even.