newborn photography

Behind the Scenes - In-Home Lifestyle Family Session

My wonderful brother and sister in law just moved to Arizona and I had the privilege of staying with them, just a few days after they had moved in! We had little to work with, as the rest of their belongings were being shipped across the Pacific Ocean from Hawaii. We really made this session simple and only used a bed, a sheet and a few white pillows for an in-home, lifestyle family photoshoot. Today I'm going to take you behind the scenes and give you some simple tips to get great photos in the home. 

1. Don't over complicate things!

Sometimes it's so easy to get crazy with props, outfits, blankets, and accessories. I think some photos become more about all those extra things, rather than focusing on the people in the photo. I love keeping things simple, clean and natural.  

hatchfamily-13.jpg

2. If there is a baby, make sure the baby is warm and well fed - that applies to the other kids too!

Crankiness and crying bring red faces and a lot of wiggles. Having the baby fed before hand helps a lot; I also had small easy snacks close by for the kids. It felt more like jumping on the bed, having a snack and snuggling than a photoshoot. Happy kids = happy photos. Simple as that. 

In-Home Lifestyle Tips
In-Home Family Lifestyle Photos - Tips for Keeping it Simple - www.mommatography.com


3. Allow for enough time to shoot and don't rush things. 

I loved being able to spend some quality time with this cute family and not have to rush things. In almost all of my sessions that involve a newborn, we'll have to take little breaks for nursing, calming the baby, or even making sure the older siblings are cheerful and happy. If it feels rushed it will be stressful and the pictures will show it! 

In-Home Lifestyle Family Photography Session - Behind the Scenes & Tips for Great Photos at Home - www.mommatography.com
in home family photos
In-Home Family Lifestyle Photos - Tips for Keeping it Simple - www.mommatography.com

4. Let the family be natural; don't stage everything or over-pose (I might have made that phrase up, but it sounds good to me). 

All I did for this shoot was tell them how to sit on the bed for the group shot. Everything else was candid and those are some of my favorite photos. Even if things get ugly with tears and meltdowns, it's okay to snap a few photos. Let them be their true every-day selves. It's real life. 

In-Home Lifestyle Family Photography Session - Behind the Scenes & Tips for Great Photos at Home - www.mommatography.com
In-Home Family Lifestyle Photos - Tips for Keeping it Simple - www.mommatography.com

5. Don't ever tell the kids to smile. Just make them laugh.

You know what I'm talking about. You say 'Okay, now SMILE!' and you get the world's most forced and irritated happy face. I steer clear of that. I tell them stories, make jokes and try to keep it light hearted. For these family shots, I played peek-a-boo behind the bathroom wall and that's all I needed to get happy expressions. It turned into a fun game for the girls. Okay, I might have done some really silly dancing as well; whatever it takes for million-dollar smiles, right??

In-Home Family Lifestyle Photos - Tips for Keeping it Simple - www.mommatography.com

6. Try and be discrete. 

I love standing by, trying not to let the kids know I am taking pictures. If you are documenting more than directing, you can get really great moments and the kids aren't bugged that a big annoying camera is in their face. This was my favorite shot of the whole day; the littlest sister jealously looking on at the new center of attention. She is the cutest thing. I wanted to take her home with me. 

In-Home Family Lifestyle Photos - Tips for Keeping it Simple - www.mommatography.com

7. Find the room that has the most natural-light.

Lighting is key to great photos. I always search for the best-lit room and let all that beautiful light flood in. If the master bedroom is dark, try moving to the living room if it has bigger windows. Shoot in different directions, towards the light source and letting the light fall on the subject. The quicker you learn about lighting and how to find good lighting, the better your pictures will be! 

In-Home Family Lifestyle Photos - Tips for Keeping it Simple - www.mommatography.com

Practice taking lifestyle photos at home with your own kids or ask friends, if you'd like to take better family photos. What better place to shoot than where a family is most comfortable - in their own home. 


Feature Friday - Devan Jacobsen from Devan Rae Photography

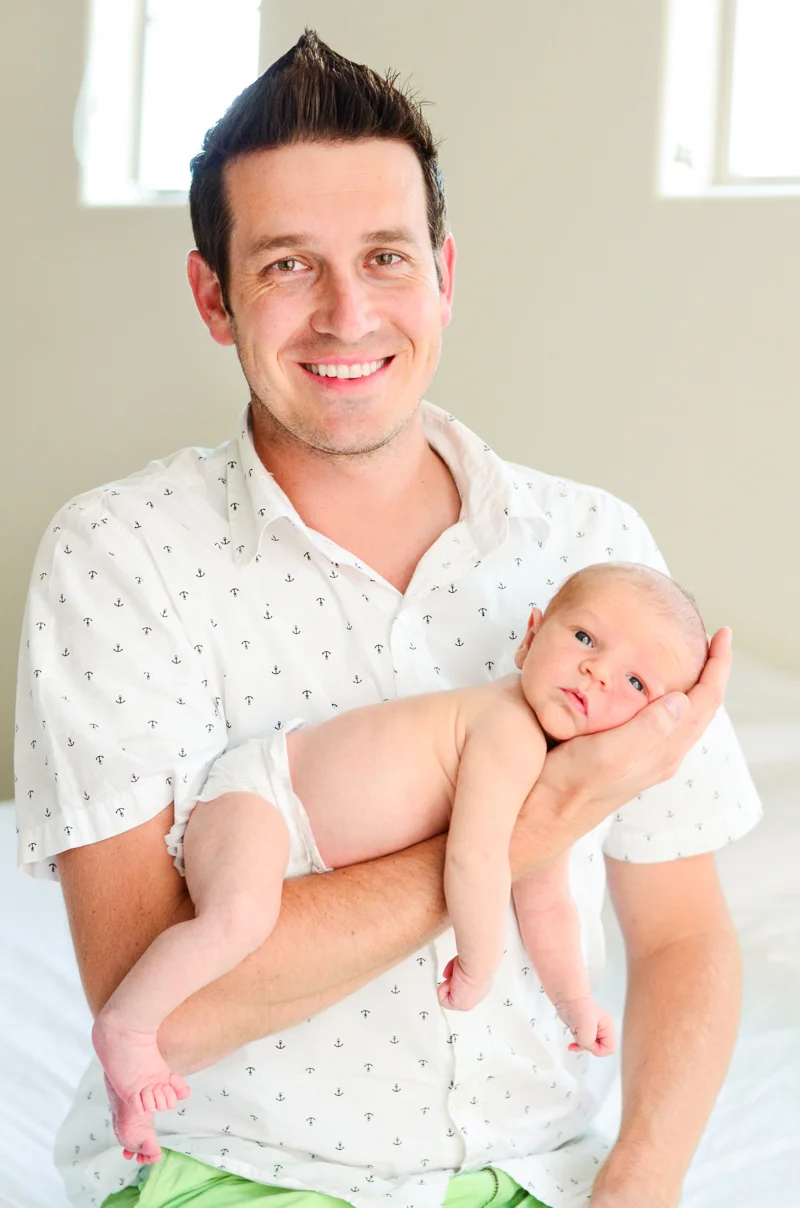
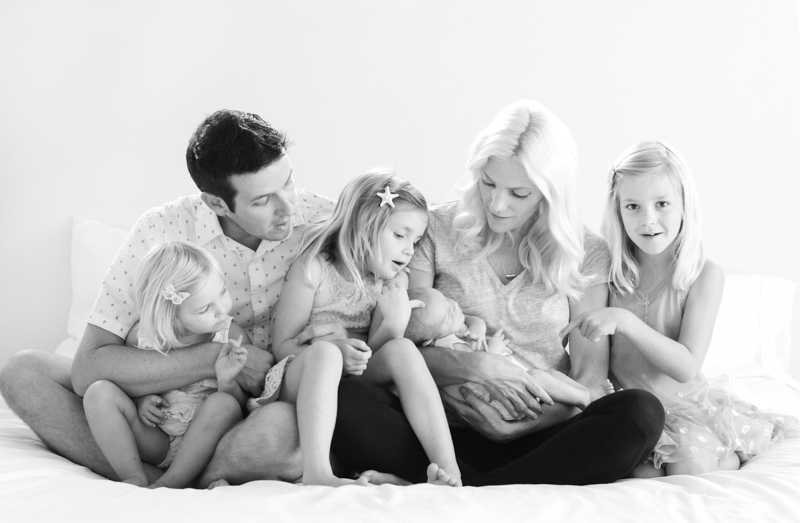
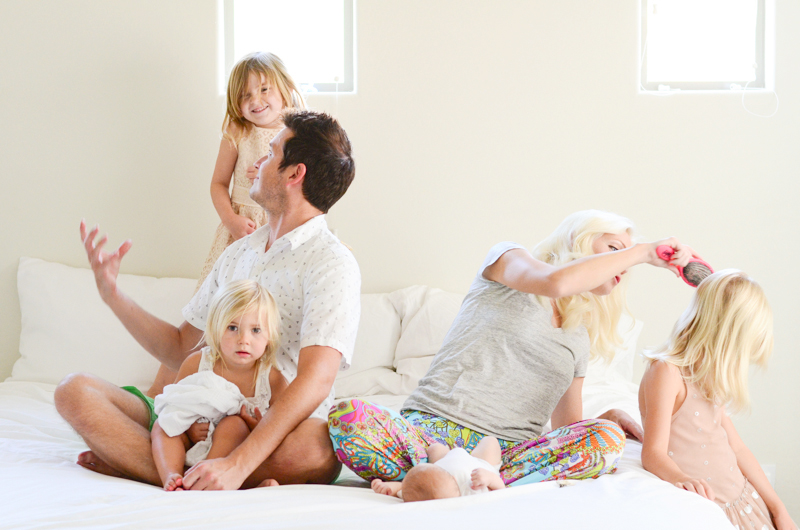
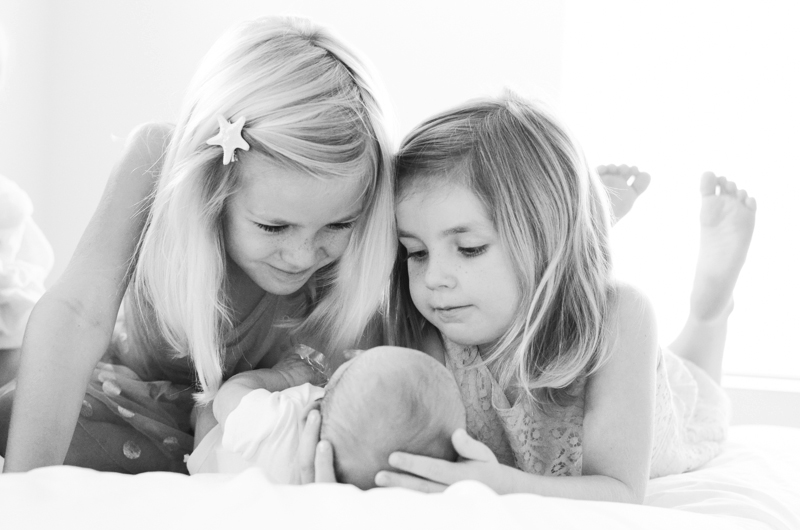
I am so honored to be featured here today! When Alise asked me, I was so excited to share! My name is Devan Jacobsen, owner of Devan Rae Photography. I am married to an amazing man, Spencer. We have two lovely children, a 3.5 year old little boy & a 1.5 year old little girl. They keep us on our toes! We love being outdoors & having adventures, which only fuels my love for photography. My family is my greatest joy, and they continue to encourage my love of photography. I am truly indebted to them! 

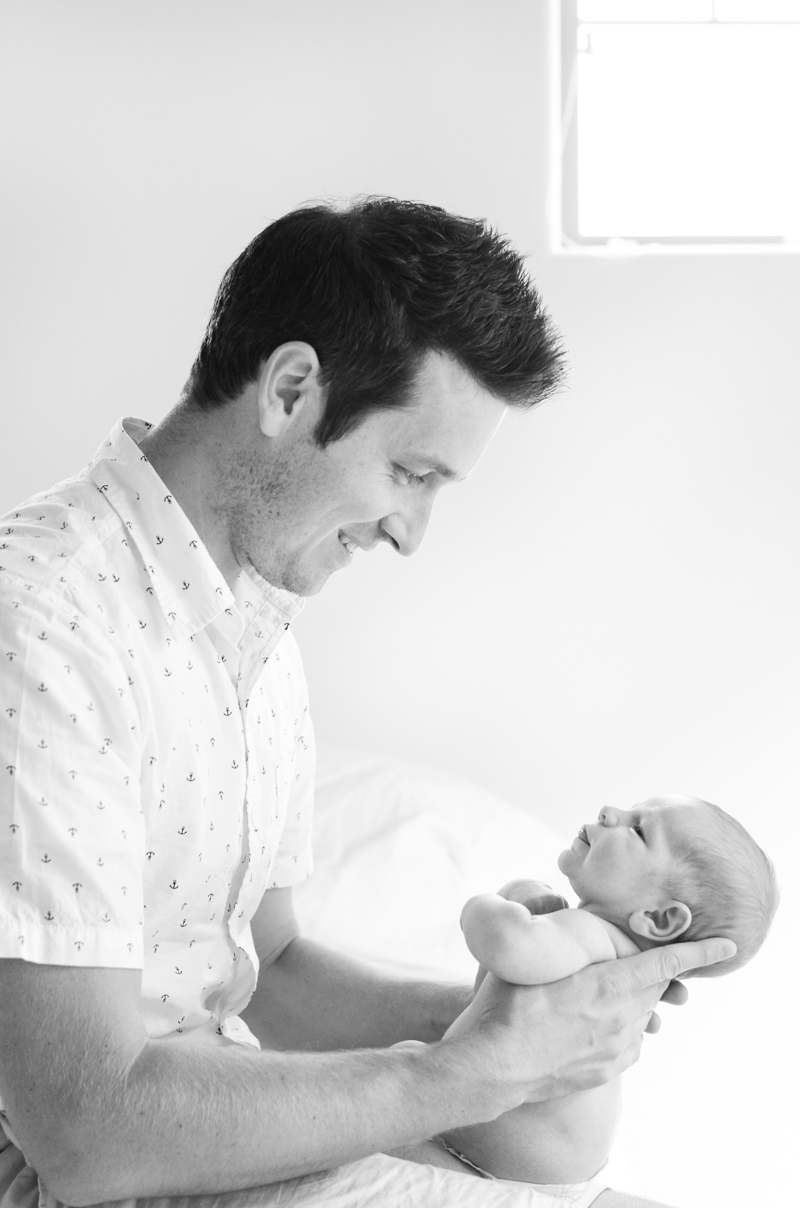
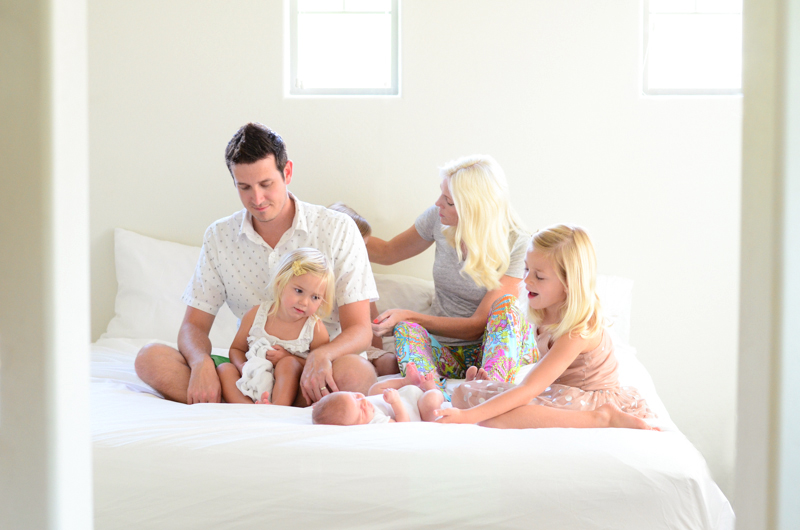
I have loved photography for as long as I can remember. I used to play with my mom's film cameras when I was younger. I took class after class in High School. I was enthralled in everything having to do with photography. I loved the aesthetic that could be produced with a camera! When I was applying to colleges, I knew what I wanted to be. A Photographer! I just wasn't positive what type of photography I loved yet. My parents always encouraged me to follow my dreams! They bought me my first camera. They paid for my crazy expensive film hobby too. My parents & my husband have been my greatest advocates! I graduated with my Bachelor of Fine Arts Degree from Utah Valley University and went to work in my town Photographing Newborns, Births, Families, & Weddings. I love portraiture! 

Friday Feature - Devan Rae Photography

I enjoy portraiture so much because I get to work with people. I get to capture their personalities & the things they love the most in life. I am documenting amazingly beautiful things in their lives, and I am so grateful for that. I get to meet these amazing people & learn about their lives. It truly is a treat to learn from all of my amazing clients! 

Today I want to give you a few Newborn Photography Tips!

  • Comfort is key! If you have a baby that is well fed & sleepy, you have hit the jackpot! When babies are calm, comfy & fed, they are more likely to pose easier, or stay happier during pictures. Have a small space heater in the same room as you. You don't want to overheat your baby, but having the room warm that you're taking pictures in will help a ton. 

Friday Feature - Devan Rae Photography
  • Light, light, light! I love ample light. Take pictures of your baby when there is a lot window light. The more light you have, the fresher, cleaner & more beautiful your portraits will be.

Friday Feature - Devan Rae Photography
  • Direction of light- each person has their own preference here. I prefer to have my baby far enough away from the window that the light is diffused & beautiful. Also, pay attention to where the shadow lays on the baby's face. You want to have the shadow under the nose. In other words, don't have the window light going up the baby's nose. You will position the forehead closer to the light source to prevent ghoul lighting. I tend to love less shadow so I like to position the baby more towards the light. 

Friday Feature - Devan Rae Photography
  • Be safe! Always have help when taking newborn portraits. Only attempt safe lifestyle & prop poses. For instance, swaddle your baby securely, shoot from a few different angles, then slowly unwrap you baby & shoot their details... little hands, feet, nose, ears, hair, belly button, mouth... then make a collage! Those details you never want to forget! 

Friday Feature - Devan Rae Photography

Thank you for letting me share some tips with you today!

To see more of my work, visit my website at www.devanraephotography.com


Depth of Field

Depth of Field (DOF) is the distance between the closest and farthest parts of your image that are sharp, or in focus. Before composing your photo you have to make a choice. Is it important that the scene before appears clear and sharp to soak up all the details? Do I want to hide distracting objects, messy walls, or bring my audience in on just the foreground? This varies from subject to subject and of course, with your personal preference. Depth of field is a term that relates directly with your aperture. Be sure to read and review my post about aperture

I find that if I am shooting a large landscape scene, I want to achieve a sharp image and bring the entire scene to life. I usually photograph using a higher aperture (f/stop) somewhere between f/11-f/22 to get the details in the distant trees or mountains, clear.

Understanding Depth of Field - www.mommatography.com

This is the kind of scene (above) I want to use a deep DOF. It wouldn't look as good enlarged to a 30"x40" print if I shot with a shallow depth of field, such as f/4. I need a larger f/stop number to get those distant mountain ranges clear. I shot this with an aperture of f/16. 

Depth of Field for Landscapes - www.mommatography.com

I shot this image above at about 7:00 in the morning when the sun was just rising. Since I wanted to shoot with a higher f/stop to get a deep depth of field (more in focus through my image) I knew I would need a longer shutter speed. This is where it is key to use a tripod. Shooting in dimmer lit scenarios means you need more light - to get more light in your image you either have to have a slower/longer shutter speed, a higher ISO number (review my post about ISO here) or open your aperture to a smaller f/stop number. I couldn't bend with my f/stop number and I wanted a low ISO setting (to avoid adding grain - remember the higher your ISO the more grainy your image will be). Using a tripod was the best solution by allowing me to use a slower shutter speed without having camera shake. I shot this image at f/16 and 1/4th of a second. 

Shallow Depth of Field Example - www.mommatography.com

This is an example of using shallow depth of field with a landscape. Sometimes you'll want to focus on your foreground and blur the background; in this case I shot at f/3.5 so I can see some of the ridges in the mountains. If I shot at f/2.8 the mountain range might not be as recognizable, like I wanted it to be. 

Shallow Depth of Field Landscape - www.mommatography.com

Here's another example of using a shallow depth of field for a landscape. Focusing on the branch instead of my whole scene adds a lot more interest in this shot. 

Understanding Depth of Field - www.mommatography.com

If I am photographing my kids and taking a simple portrait, I like to have just enough of their face in focus and blur the background. This ensures that the photo is all about them, not the greasy handprints on the wall behind their head, the dishes I left out on my kitchen sink, or dirty socks on the floor. You can take great portraits inside your own house and get that fun lifestyle element without showing too many details in the room behind your subject. You can also tell a fun story by using a shallow depth of field. 

Depth of Field Examples - shallow depth of field - www.mommatography.com

I also use a shallow DOF a lot with newborn photography; focusing on their little feet or hands. In this case, I want a shallow DOF with my aperture (f/stop) around f/2.8-f/4. This draws the eye to the certain part of the image or subject that is in focus and creates a softer feel. I love the way it highlights the little details of a newborn baby. 

Understanding Depth of Field - www.mommatography.com

Brainstorm about what kind of images you want to take and practice using a shallow or deep depth of field to get the right mood and focus that you want in your photos. Hopefully when people refer to 'depth of field' you can understand what they mean a little better.