
Double-click to edit...
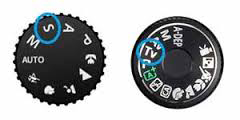

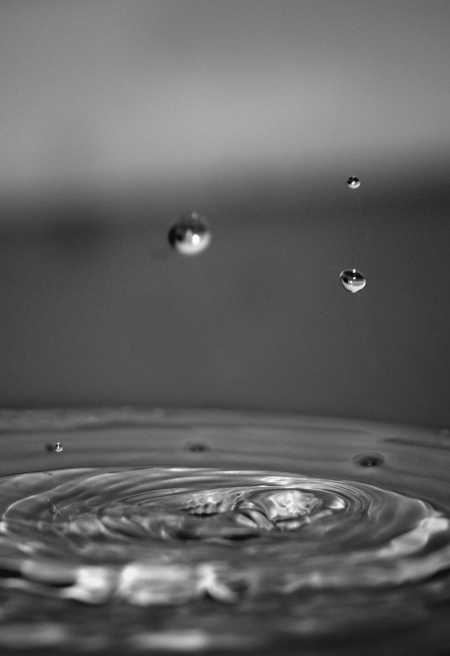
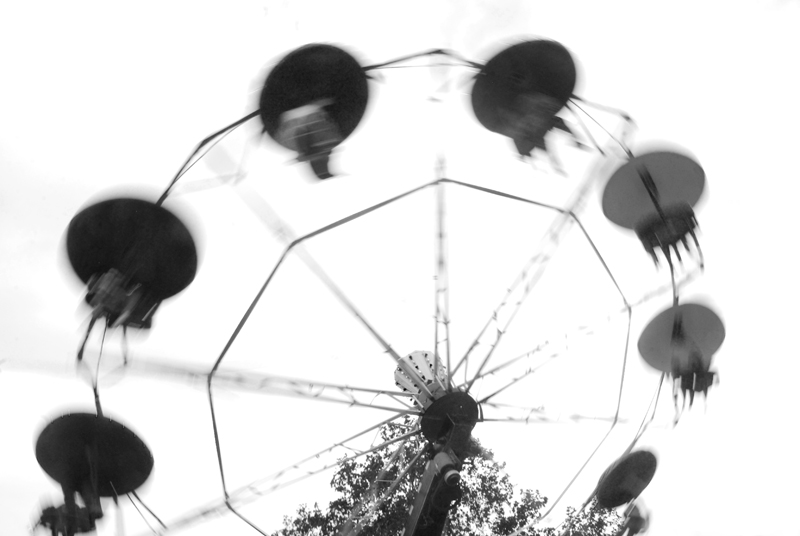


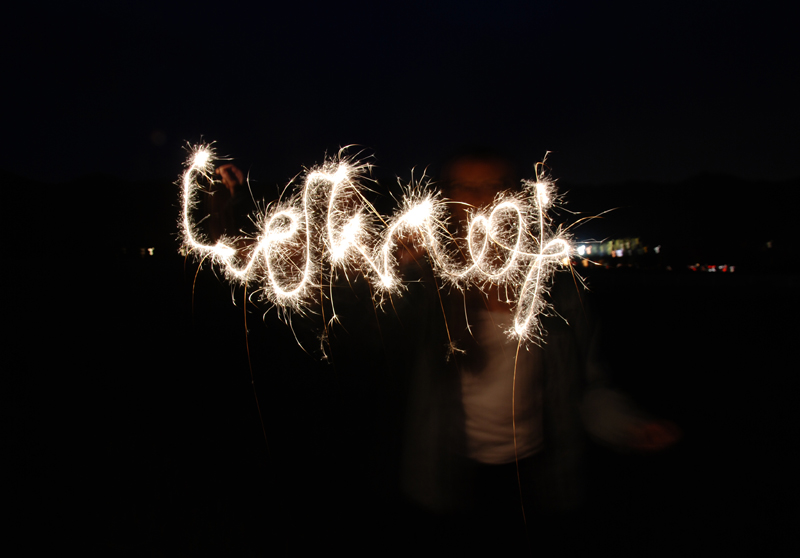
Printable Photography Cheat Sheet
Double-click to edit...
Let's take a break from editing tips and get back to some basics! Today I made a really convenient printable photography cheat sheet for those wanting a little guide that can fit inside your camera bag! This is a 3x5 card that you can carry and refer to easily on the go. When you want to know what settings to use in certain situations, just snag your card to help you remember what all those crazy settings will do to your image. It can be easy!
Keep practicing shooting manual, or choose your aperture priority to practice selecting your own aperture. That's always a good place to start; you only have to think about half of the equation because your camera will choose your shutter speed for you!
Click here for the full 3x5 file.

Understanding a Full-Frame vs. a Cropped-Sensor Camera
Double-click to edit...
Lately I have been asked a lot of questions about cameras, which one to buy and what the difference is between a full-frame camera vs. a crop-sensor camera. SO I decided to spell it out simply so you can understand the difference between cameras that have a full-frame sensor and a crop-frame sensor.
On a full-frame camera (a camera with a full-frame sensor) this is referring to a sensor-size that is equal to 35mm film. In other words, the rectangular sensor that captures your image will record the same area as 35mm film will (roughly 24mm x 36mm).
A cropped-sensor refers to any camera that has a smaller sensor than that of a full-frame camera. Most entry-level cameras have this cropped sensor. If you were to take the same photo with a full-frame camera, using the same lens from the same distance as a crop-frame camera, the cropped-frame camera would capture a smaller field of view; this means a smaller piece of the scene projected by your lens. The full-frame camera will get more of the edges of the same scene, or more 'real-estate'.
You can see the difference in the example below. The image on the left was taken with a Canon 5D Mark III and the image on the right, a Nikon D7000. Both cameras had a 50mm lens, shot with an aperture of f/2.8 and were taken from the same spot (the same distance from the dog).
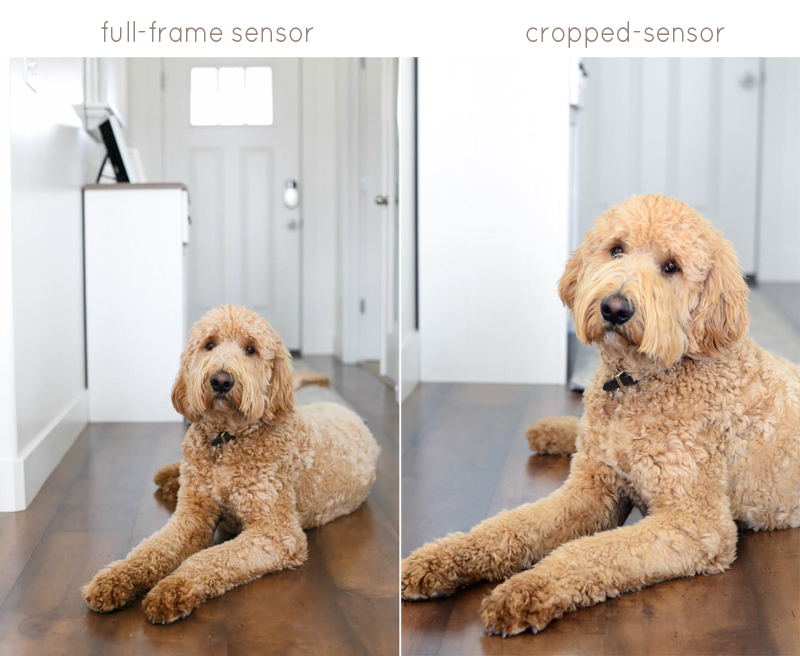
Every cropped-sensor camera has a crop factor of either 1.3 x, 1.5x or 1.6x (the field of view gets smaller). This means your sensor will be a smaller version of a full-frame sensor.
Let's take a look at what each option has to offer to figure out which one is right for you.
Full-Frame
A full frame sensor will give you better performance in low light scenarios, allowing you to have a better ISO performance at high ISO numbers. They also give you a little better image quality than a crop sensor. This is why they are considered "professional camera bodies" and most professional photographers pick full-frame cameras over cropped. Full-frame also allows a wider-angle of view which can be helpful for things like landscape or architectural photography. A full-frame DSLR will also give you a slightly more shallow depth-of-field than a crop sensor DSLR.
Advantages:
Better low light performance
Shallower depth of field
Better dynamic range
Wider angle of view
Cropped-Frame
Having a cropped sensor will lose that extra 'real-estate' in your photo. With a wide-angle lens on a crop-sensor camera, you won't get the widest field of view like you would with a full-frame camera. On the other hand, a crop-sensor DSLR paired with a telephoto lens will give you more distance from this smaller field of view. For example, if you have a 200mm lens on a crop-sensor camera, you apply the 1.5x crop factor to the lens (200 x 1.5 = 300). This would really get you 300mm focal length for the subject you are shooting, or in other words, FREE ZOOM! This can be very beneficial for shooting subjects that are far away, such as getting closer shots of an athlete in a sporting event or for wildlife photography. We'll talk more about the crop factor and lenses later on.
Advantages:
More affordable
Wider range of lens selection
Increased focal length
Lighter and smaller
For most people, the decision is based upon cost. Think about the advantages of both, how they apply to what you photograph and what your budget for photography is in order to make the best decision.
In my next post I will teach you how to understand the way lenses work with both full-frame and crop sensor cameras. This can be confusing to understand so hopefully I can make it more simple for you!
Easy Tips for Taking Sharper Photos!
This is the final post about taking sharper images! I hope you're excited to try some of these final, general tips; they will change your photo life. Blurry photos are the worst. They aren't doing anyone a favor, so listen up. If you haven't read my previous posts in this series about taking shaper images, check them out here:
Understanding Your Focus Modes
Understanding Your Focus Area Modes and Focus Points
Back Button Focusing for Sharper Images
When it comes to understanding how to take sharp photos it is sometimes easier to think about WHY our photos are coming out blurry. Why, why, why??! Here are some reasons why your photos aren't as clear as you'd like them to be:
Your shutter speed is too slow, causing movement to show.
You are shooting too wide open (your f/stop is low, giving you a small plane for focusing).
There's not enough light in your scene.
Your ISO is a little too high (showing grain).
You are causing camera shake.
You aren't using the best Autofocus setting for your subject.
Shutter Speed
Let's start with shutter speed. There's a general rule-of-thumb that if you are hand-holding your camera, you should shoot at a shutter speed equal to or greater than focal length of the lens to avoid camera shake. For example, if you are shooting with a 50mm lens, you want your shutter speed to be at least 1/50th of a second to avoid showing the shakiness (...is that a word? If not, is in my book) of your hands. For any camera with a cropped sensor (most beginner DSLR camera bodies) you'll calculate 1.5 x focal length of your lens. SO for a 50mm lens, I'd need a minimum shutter speed of 1/75th.
Another thing to think about is your subject and whether it is moving or not. The tips about shutter speed above are useful for anything stationary. Once you take into account how fast your subject matter might be moving, you will need a faster shutter speed to freeze motion. There are many situations where showing motion is the goal; but we're talking about SHARP photos here.
To freeze motion, I usually start by playing it safe around 1/250th. This works well for family photo shoots when kids are wiggly but may not be sprinting in a full-blown race. If I want to freeze motion of a kid being tossed in the air, I'd like to shoot at 1/400th or something higher to be sure it's sharp. Consider your scenario, and if freezing motion is key, raise your shutter speed as high as you can without having your ISO setting too high (results in a grainy photo) or your aperture going too wide (lower aperture lets in more light). Read more about shutter speed here.
Aperture
Shooting wide open (lower aperture, such as f/2.8) isn't necessarily wrong, it just limits what is in focus. This creates a shallow depth of field, so only a small plane of your image will be in focus when you take a photo. If you are going to use a low aperture, be sure you get your focal point spot on. For help with focusing tips, read my first two articles mentioned above! Learn more about aperture here. Most lenses are the sharpest a few stops up from wide open (the lowest f/stop setting). If I have a 35mm f/1.8 lens, the images I take between f/2.8-f/5 will be more crisp than at f/1.8. I shot this photo at f/3.5 and focused exactly on the right eye to make sure they were as sharp as can be. For portraits it's crucial to try and get the eyes in focus.

ISO
When it comes to ISO, we know that the lower our ISO number is, such as ISO 100, the higher quality our images will have or the sharper they will be. Higher ISO settings, like ISO 6400, let in more light but show more grain. Read more about ISO here.
Autofocus
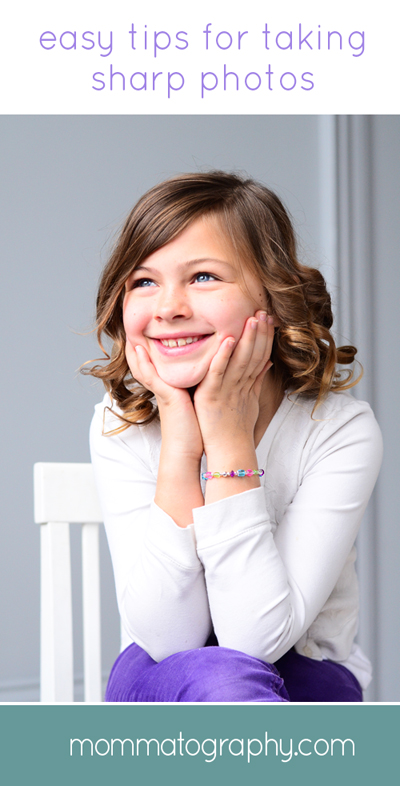
You can't rely on your camera to pick the perfect focus point for you automatically. If you are wanting a particular part of your scene, someone's face or even just the eyes in focus, you need to select the focus point using my tips in the articles mentioned above. Camera's have to guess and sometimes the result isn't what you want. For this photo below, I shot at f/2.8 and manually selected the focus point to be right on the product (the bracelet). It's completely sharp because my subject was still, I had plenty of light in this studio to use a fast shutter speed and a lower ISO, and I used the right Autofocus setting to get accurate focus. If I had my camera choose the focus, it probably would have focused on her sweater, making the bracelet fall out of focus.

I hope you've learned a few tips to carry with you as you try to take sharper photos. Get out there and practice a few of these techniques and you are bound to have better results! If you have any other questions about how to take sharp photos, head to my contact page and let me know.
PIN THESE TIPS!
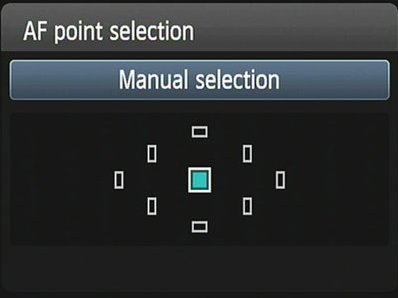
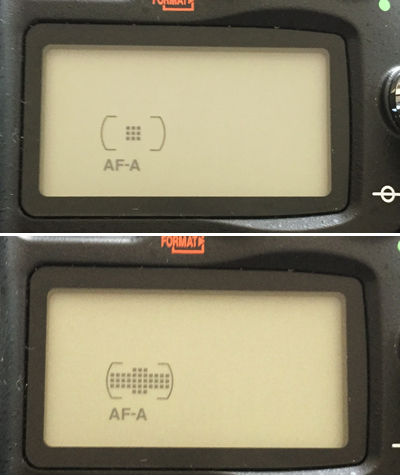
Road to Sharp Images - Understanding Focus Area Modes & Focus Points
Double-click to edit...